
Recently I discovered that I had lost all of my documentation from the time that I tried to DIY climbing holds from my little apartment in Montreal. I’m going to try to recall everything I learnt, re-try my final recipe, and re-document it in another post for anyone who wants to try themselves.
Bathroom Silicone mold and Smooth-Cast 320
I started this project trying to be as cheap as I could be. I found the prices of commercially available materials for making molds to be expensive, and I wasn’t sure how far I was going to take this project yet. Bathroom silicone and cheese cloth is what the internet proposes for the frugally minded. Technically this is referred to as a skin mold and in the DIY community the Oogoo method.
What would be my first climbing hold ? I was too cheap to buy florists foam, and wasn’t even confident in my abilities as a sculptor even if I had the means. So I looked around my apartment for something I would want to climb on. I’m not sure what possessed me, but the best I came up with was a red Bell Pepper. The climber’s fingers would wrap around the curve of the pepper where it meets the stem.
In order to make a mold from hardware store silicone I mixed a bit of warm soapy water with bathroom silicone, then applied it to the Bell Pepper which was sliced in half lying on a piece of plywood (after deseeding ofcourse). In between the goopy layers of silicone mixture I would lay cheese cloth to give structure.
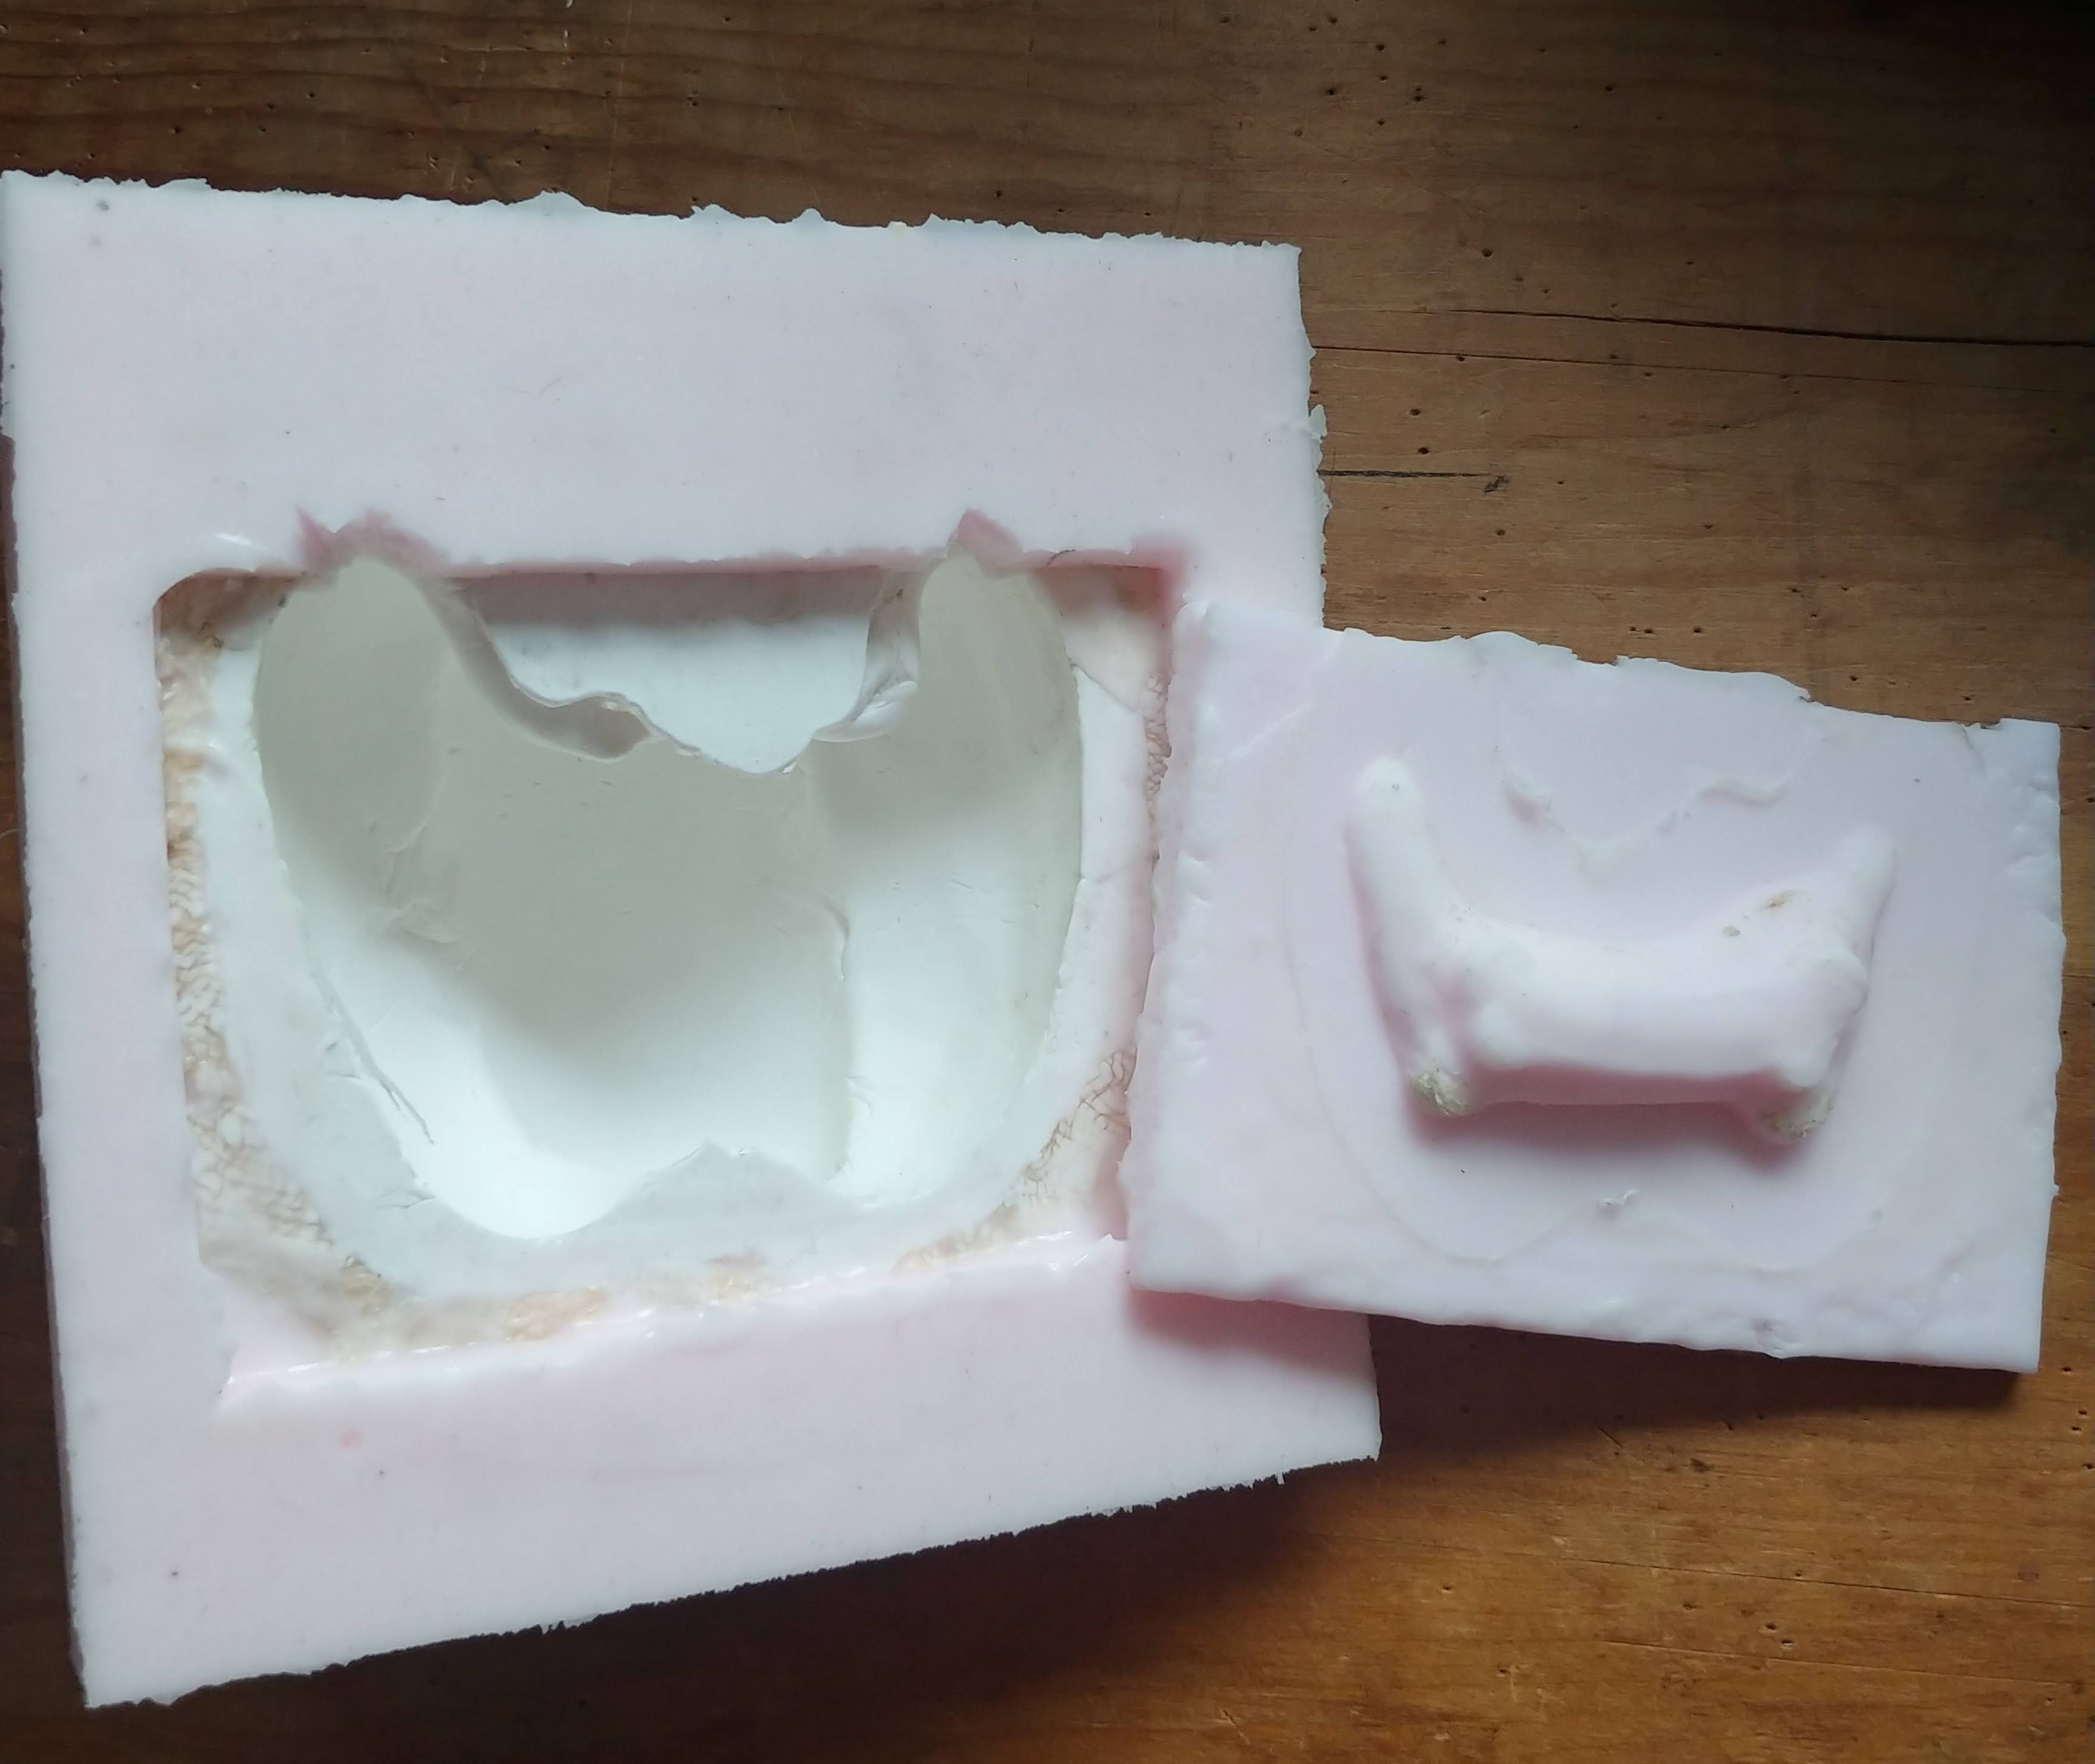
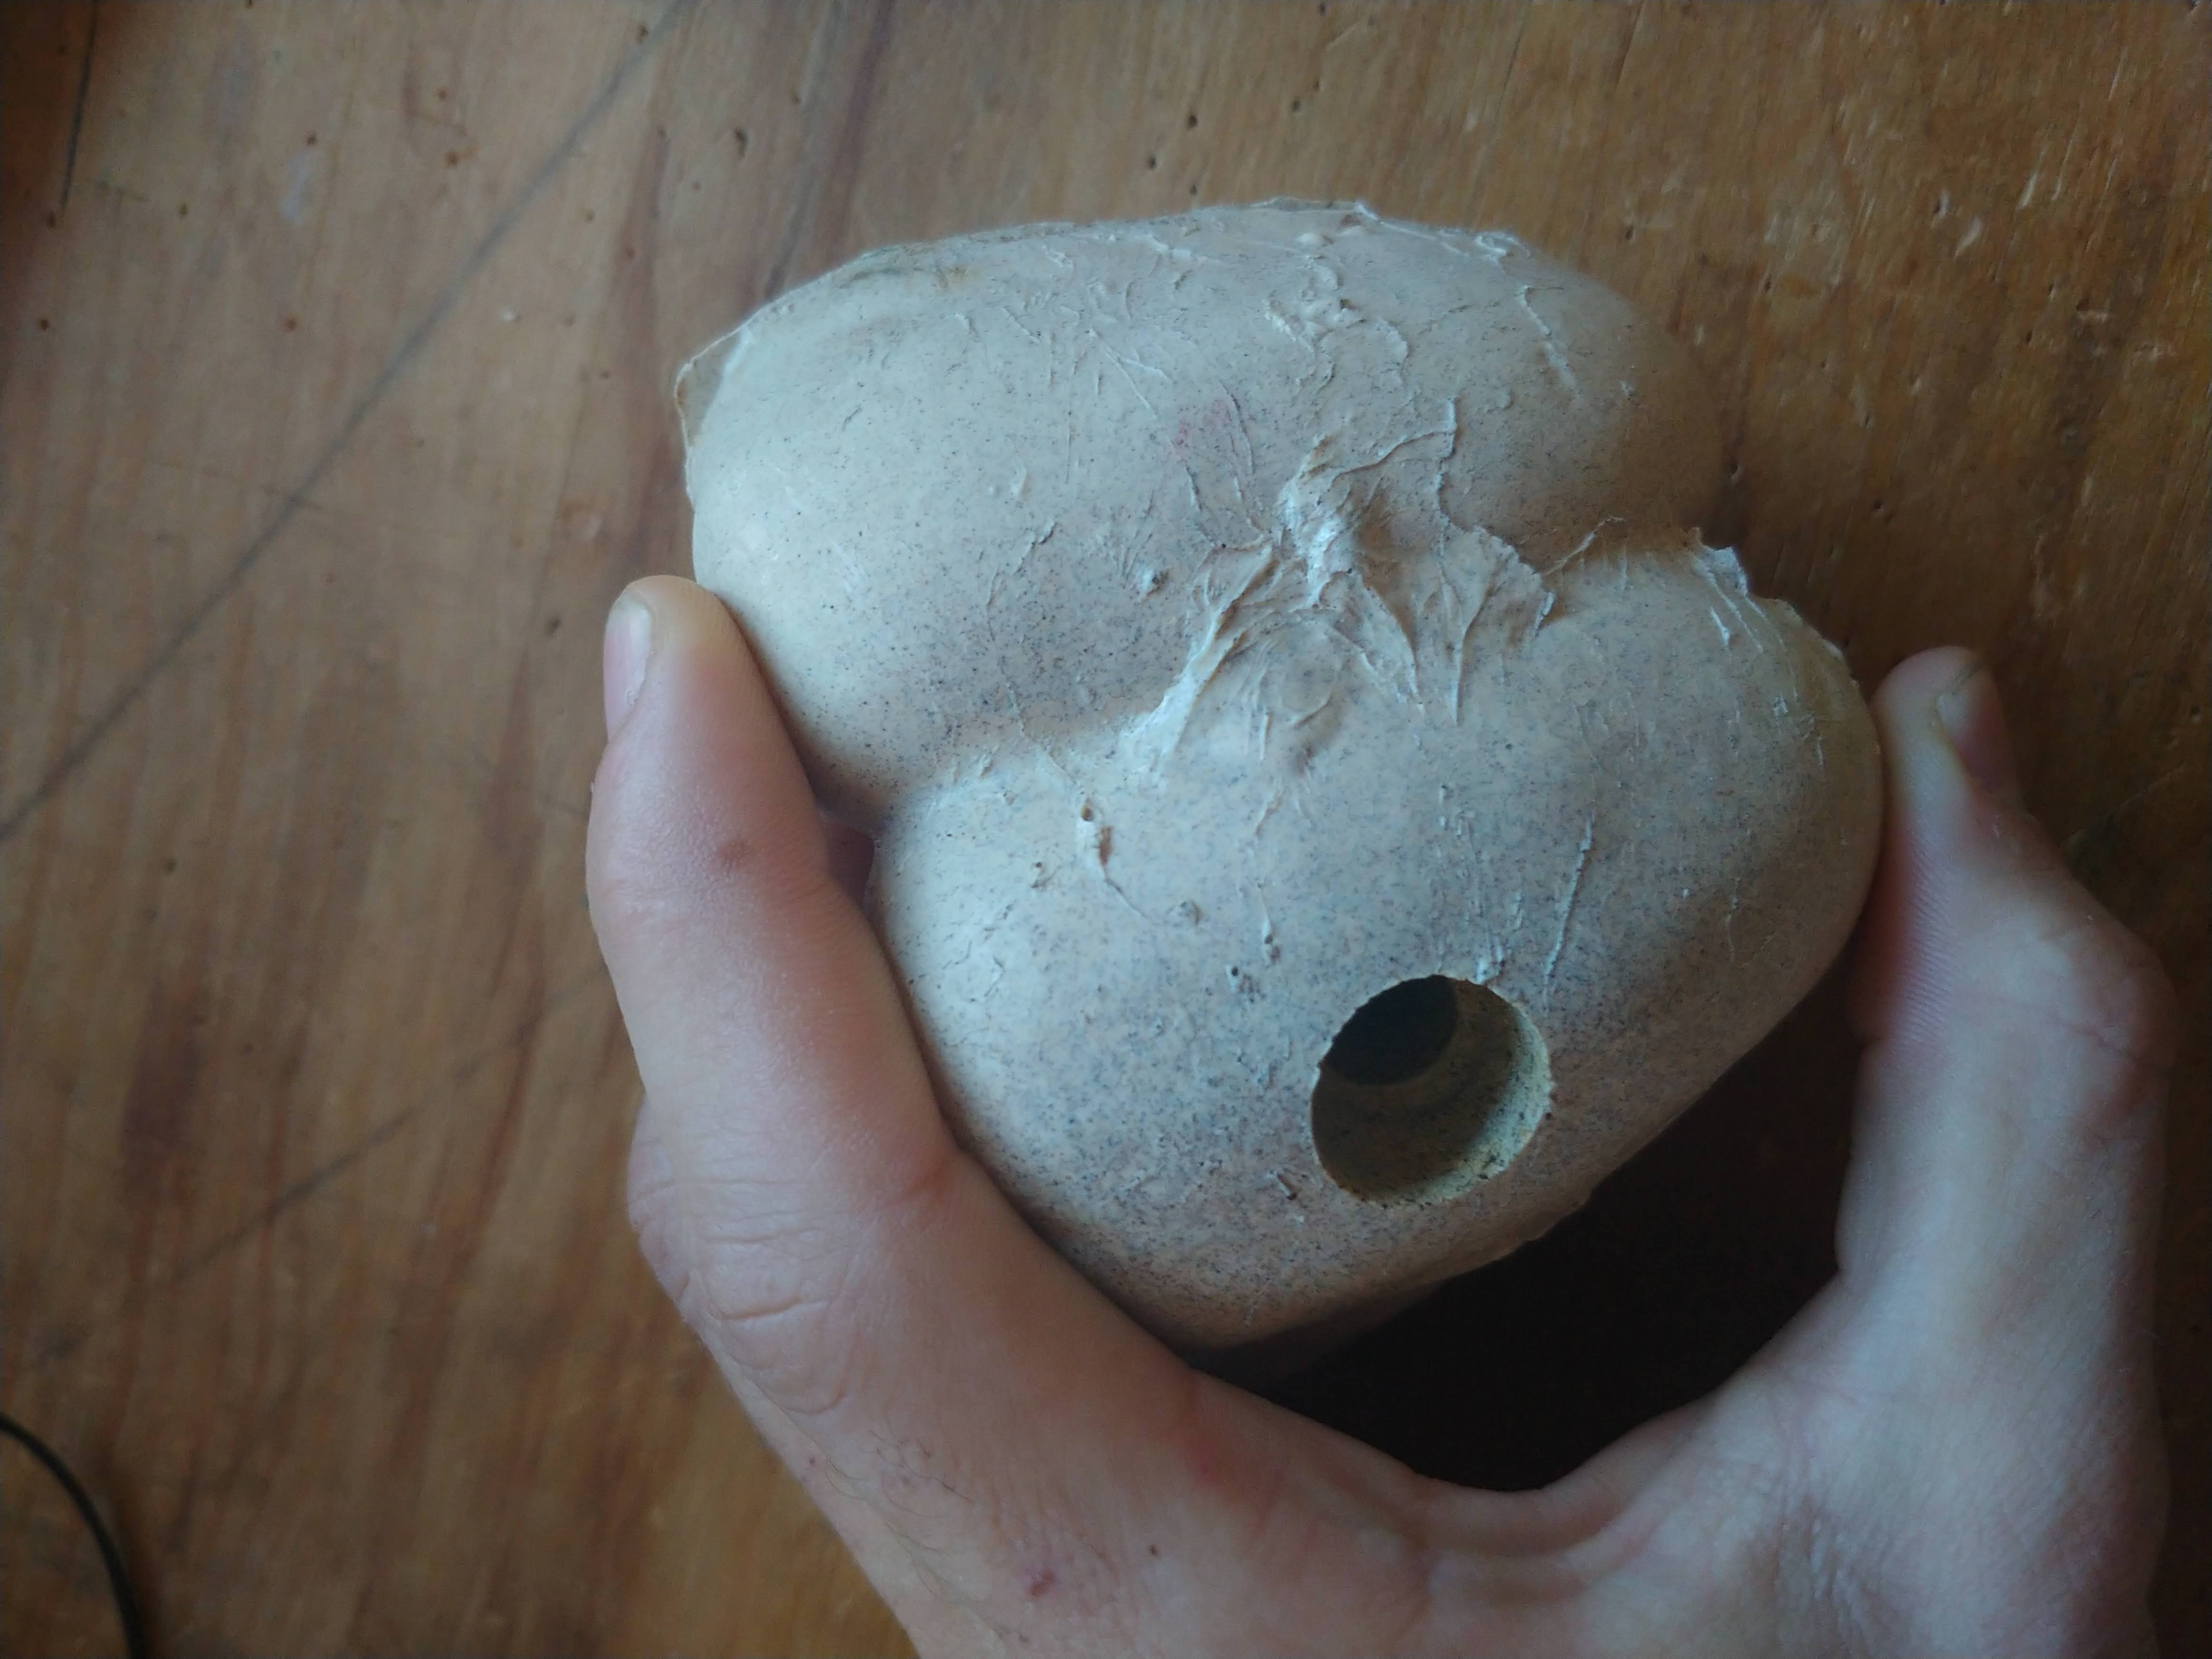
Great ! I had my mold. Using the internet again to determine what material to make my climbing holds out of, I found this testimonial so I ordered the smallest quantity they sell. This was the resulting pepper hold:
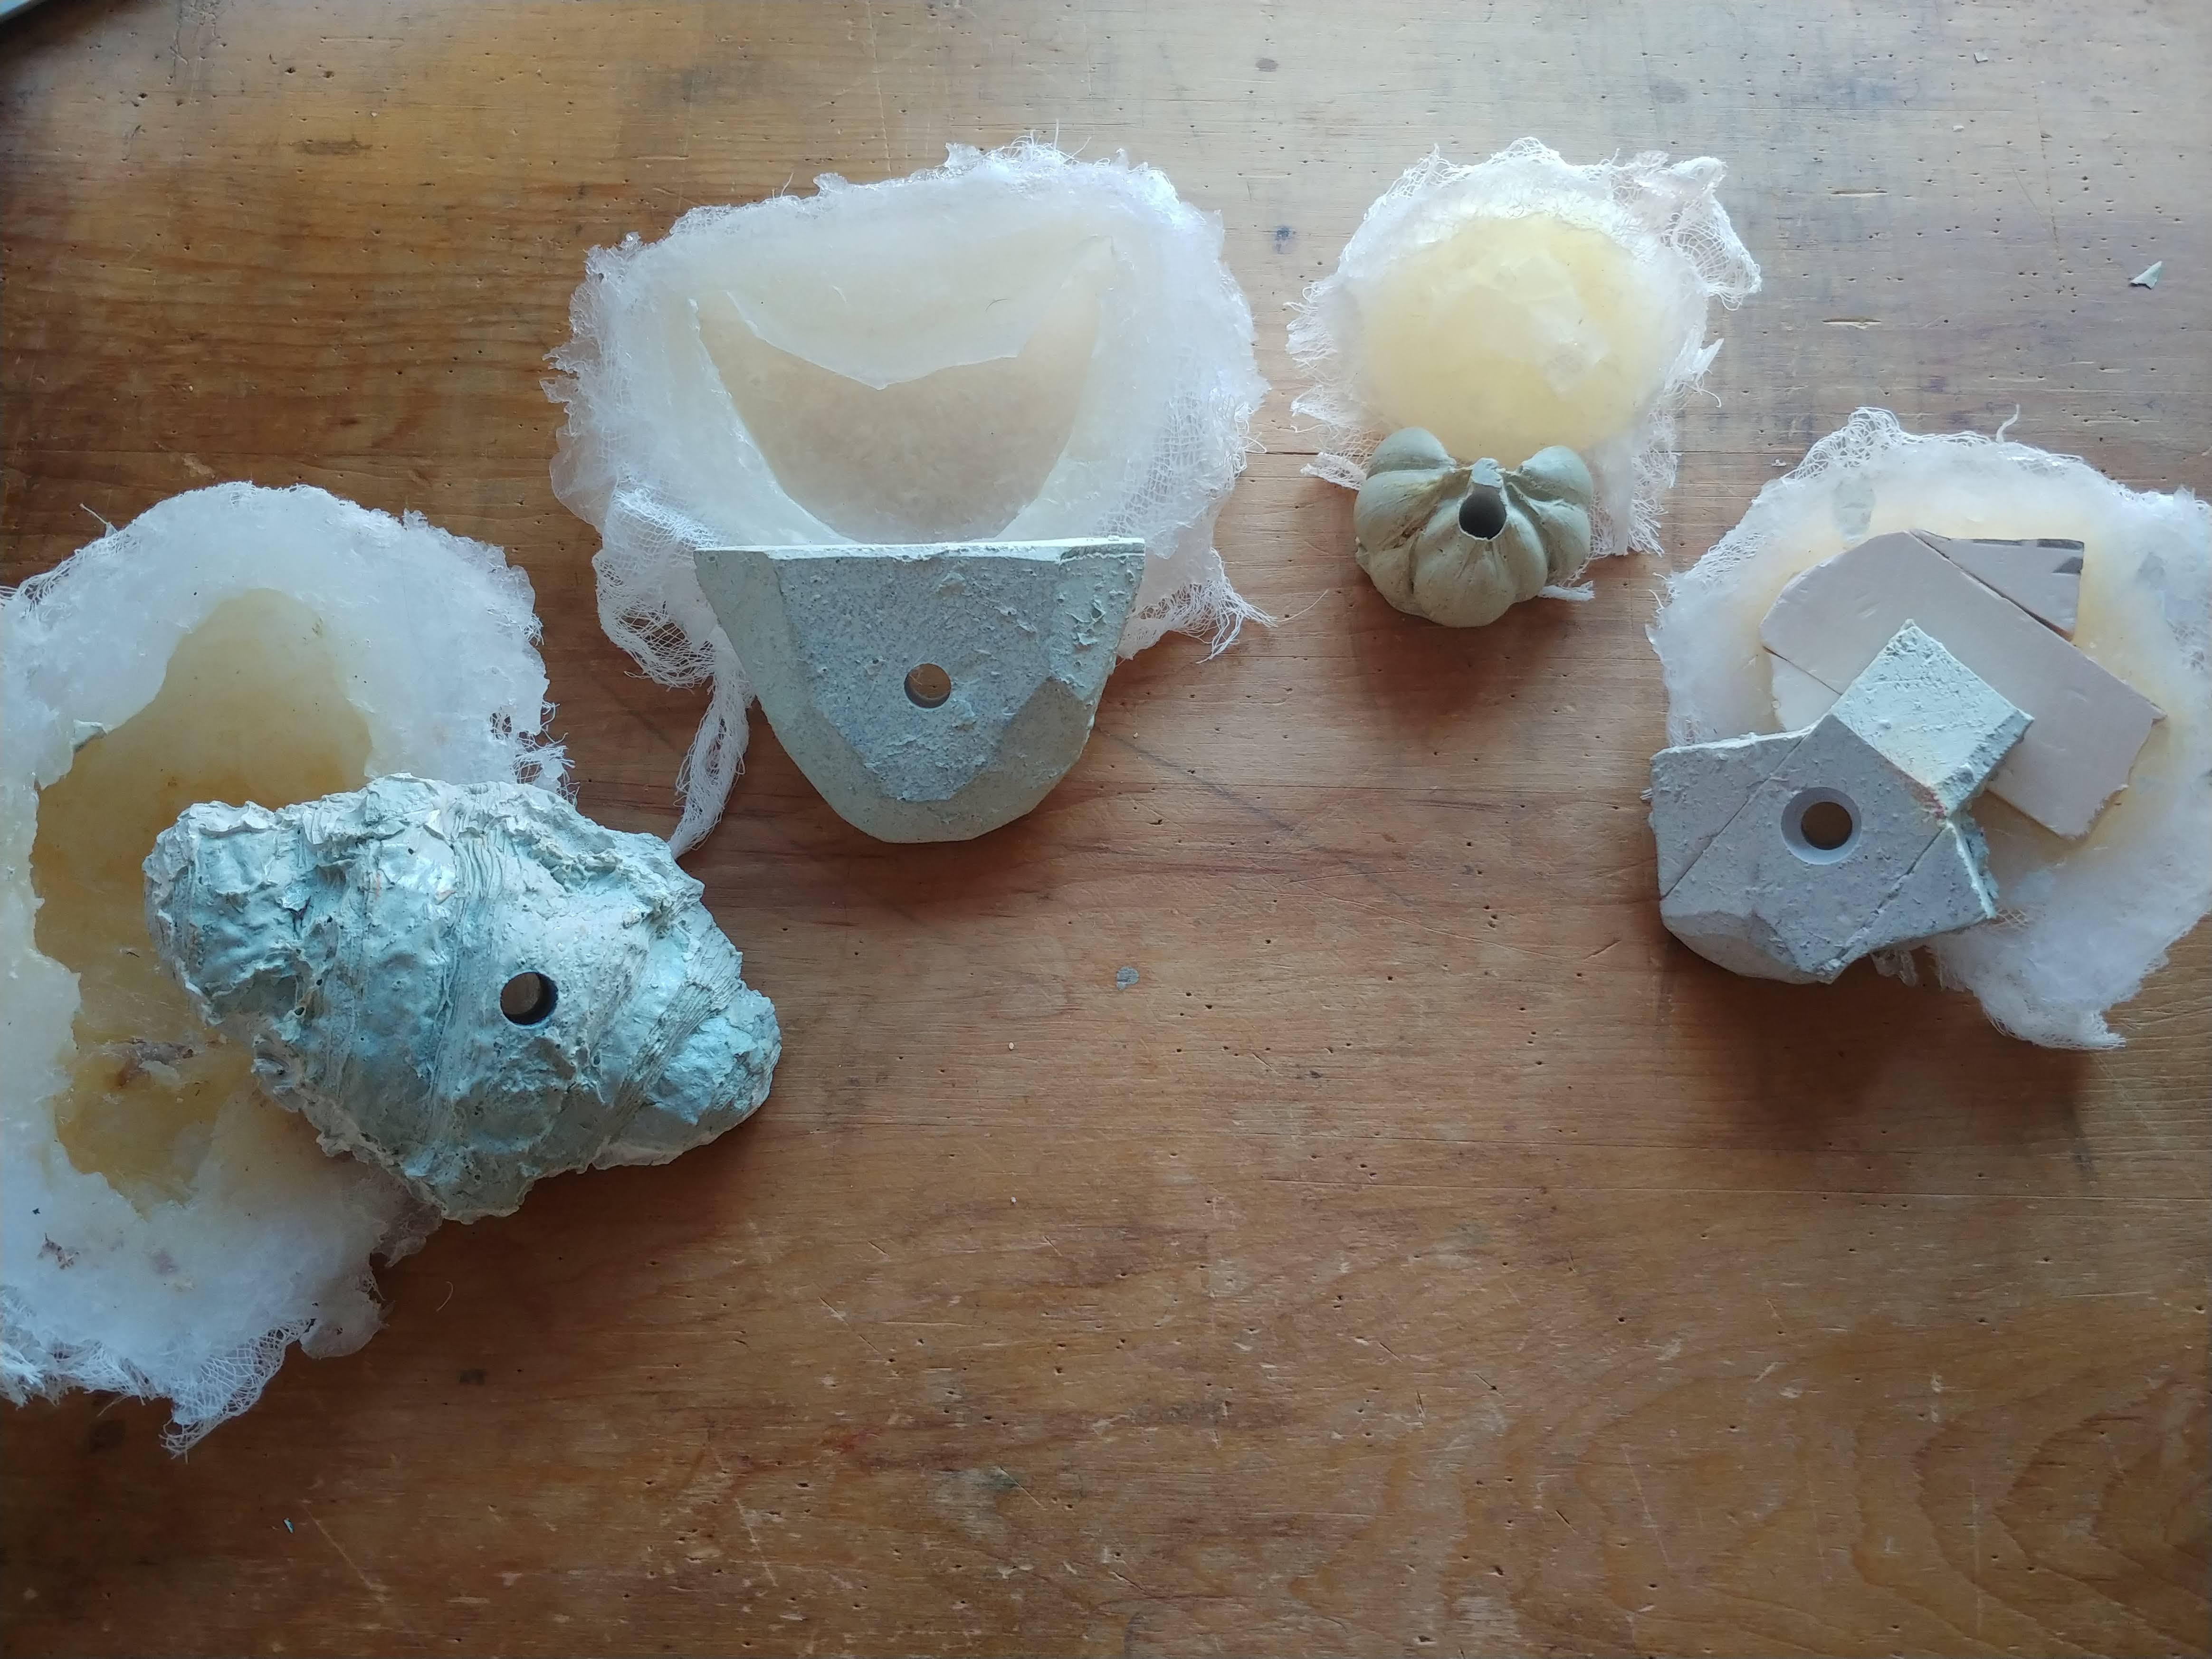
I was also experimenting with other shapes using the same materials and procedure described above:
Investing in tools and materials
Pouring plastic into these molds was difficult because I needed a way to keep the backside of the mold level. Furthermore, the molds were deteriorating quickly; pieces of the mold were coming out with the cured polyurethane climbing hold. To fix this I payed the big bucks for Mold Max 10 made by a company called Smooth-On. (In actual fact I think I used Alumilite High Strength 3 based on either Reddit research or price, or both. The important thing is to use a tin-cured silicone rubber.)
A real mold box
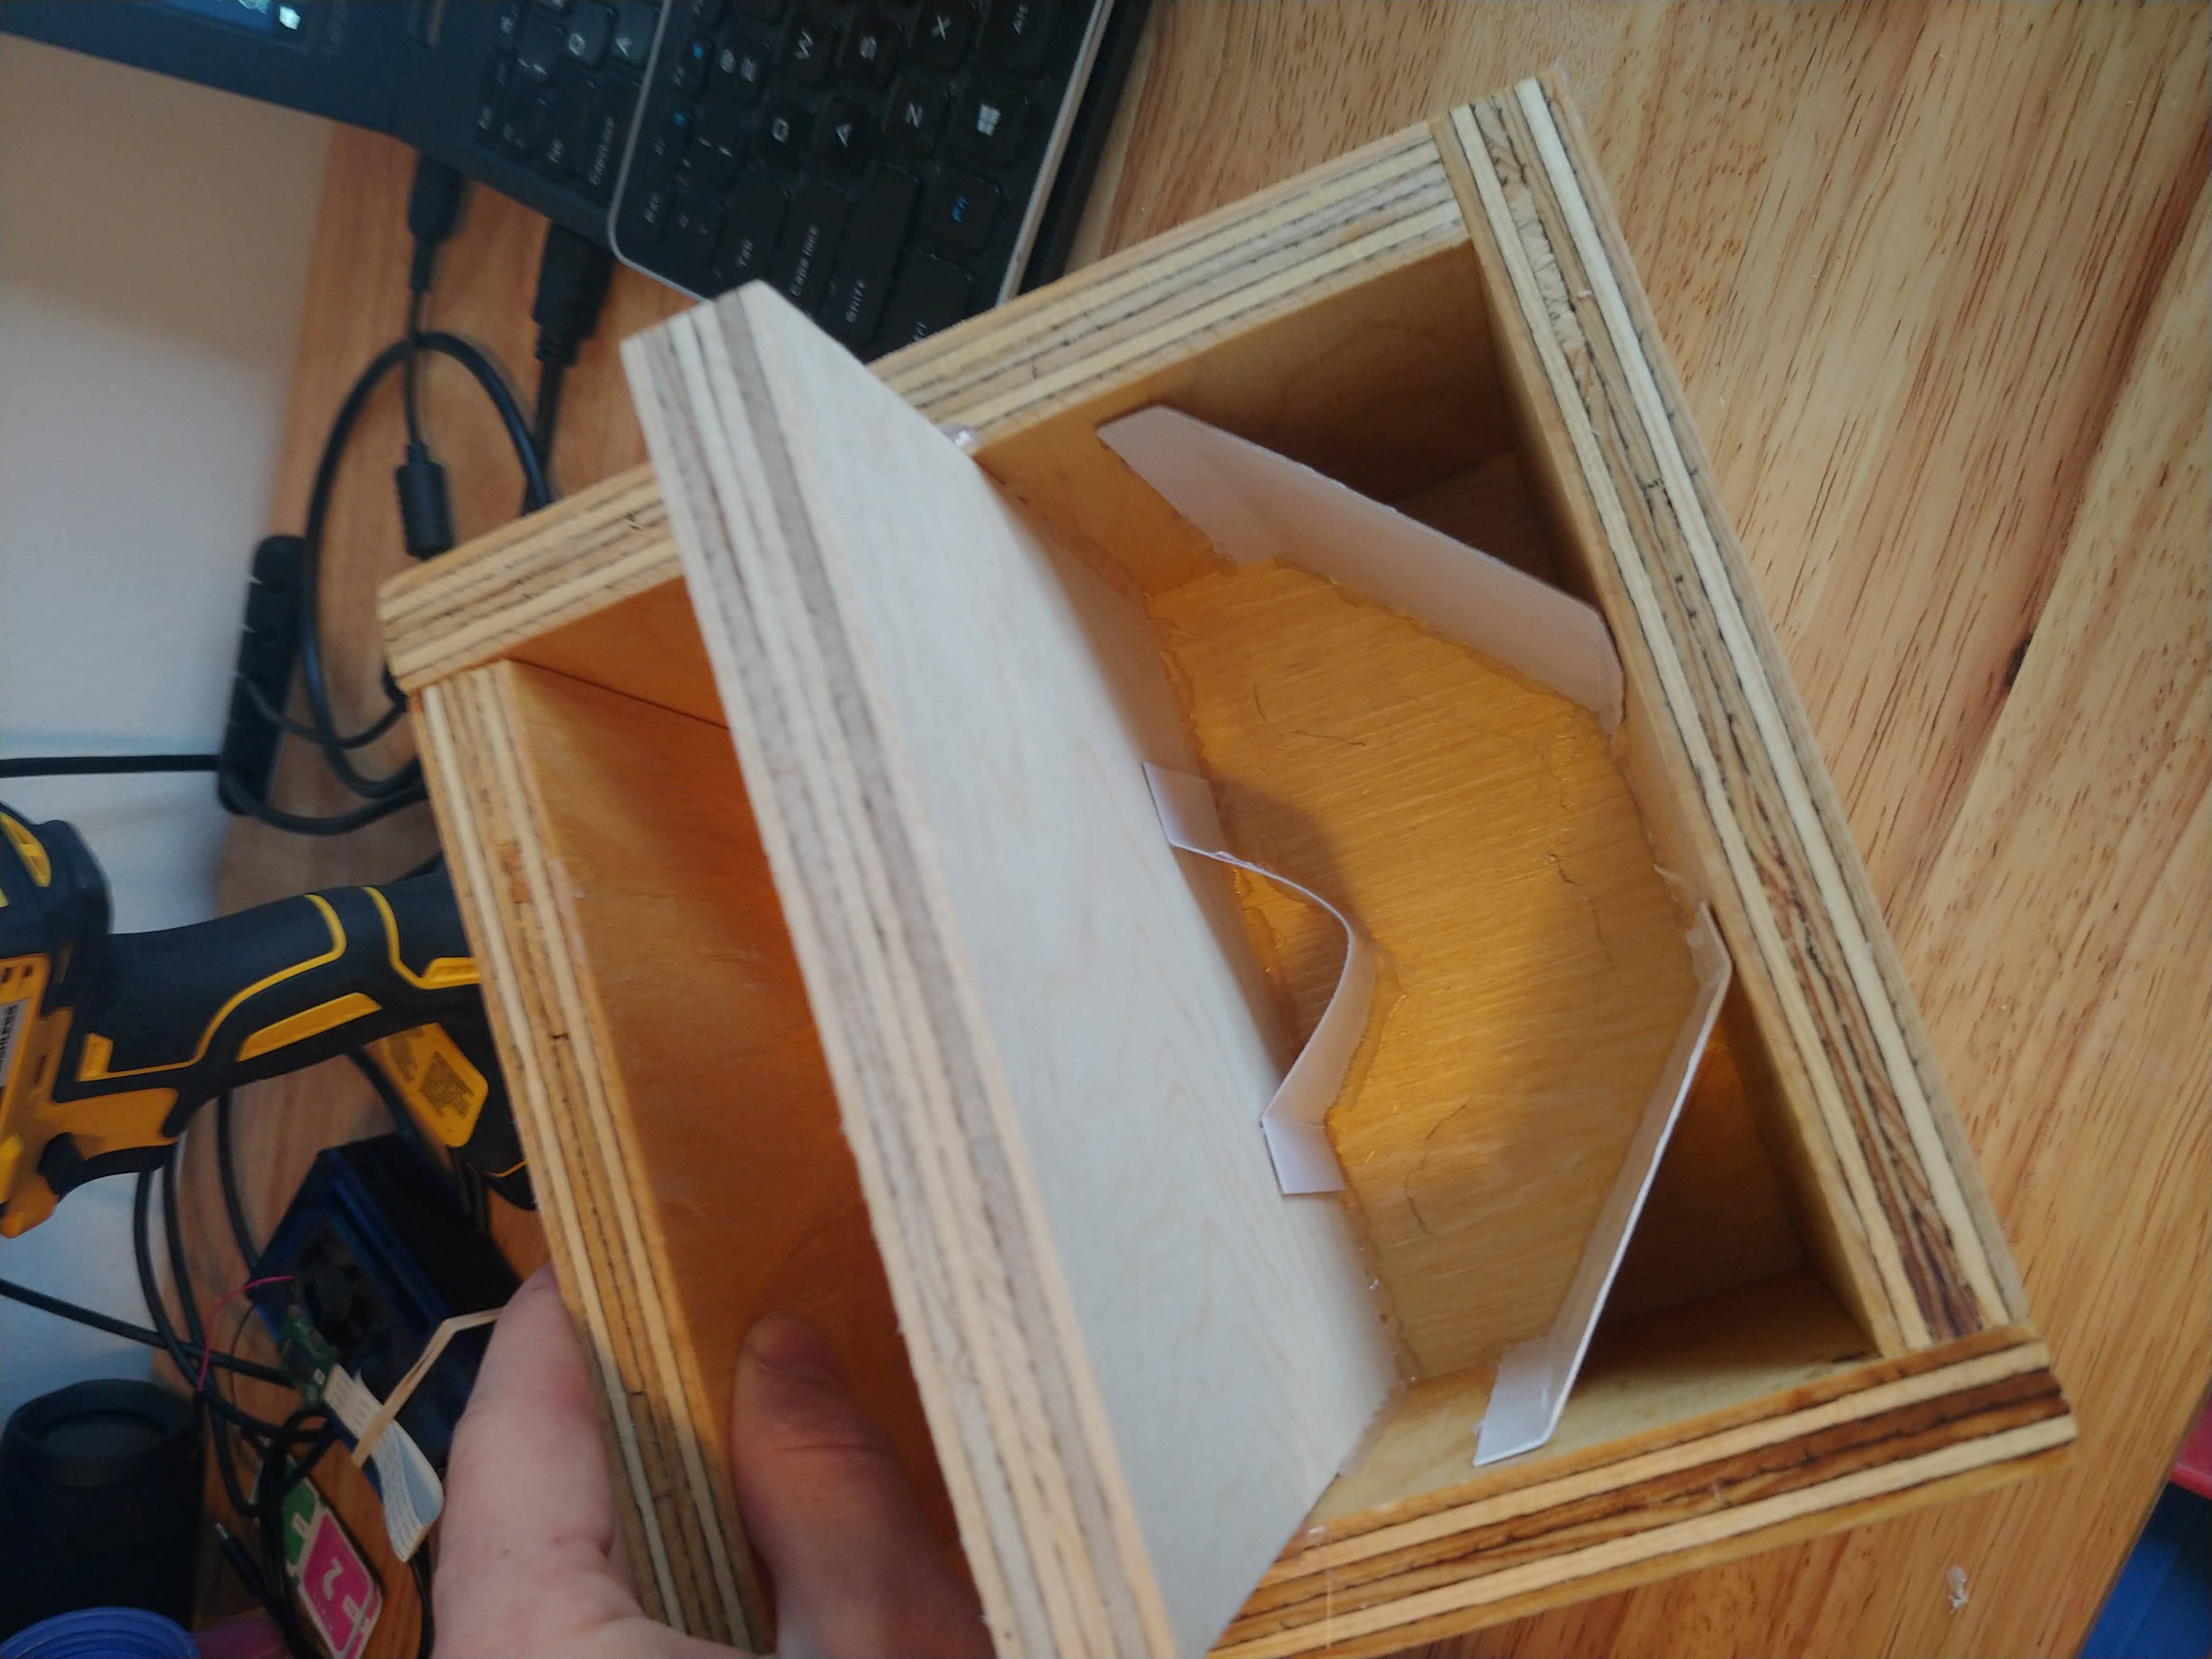
I also decided to build a simple mold box so that I could pursue using a block mold instead of the skin mold technique from earlier; this way the resulting mold lies flat on the table.
Below is a photo of the mold box. I had seperated it down the middle to make two molds at once, and the cardboard glued into the corners saves me a little rubber (and money). Can you guess what the next climbing hold is, based on the shape layed out in the box ?
Croissants
In the photo above of the ugly climbing holds, there is one particularly ugly one on the left; it’s a croissant from the bakery around the corner from my apartment. It’s a great bakery that makes a really flakey croissant, but that’s kinda terrible for your skin, and just downright dangerous once cast in plastic.
But I still loved the idea of a croissant climbing hold. What makes terrible croissants but could mold really nicely ? Pillbsury Mini Crescents. So I made an entire tray of these things, and way overcooked them until they were hard as a rock. I chose the one that turned out best, and glued it to the bottom of my mold box.
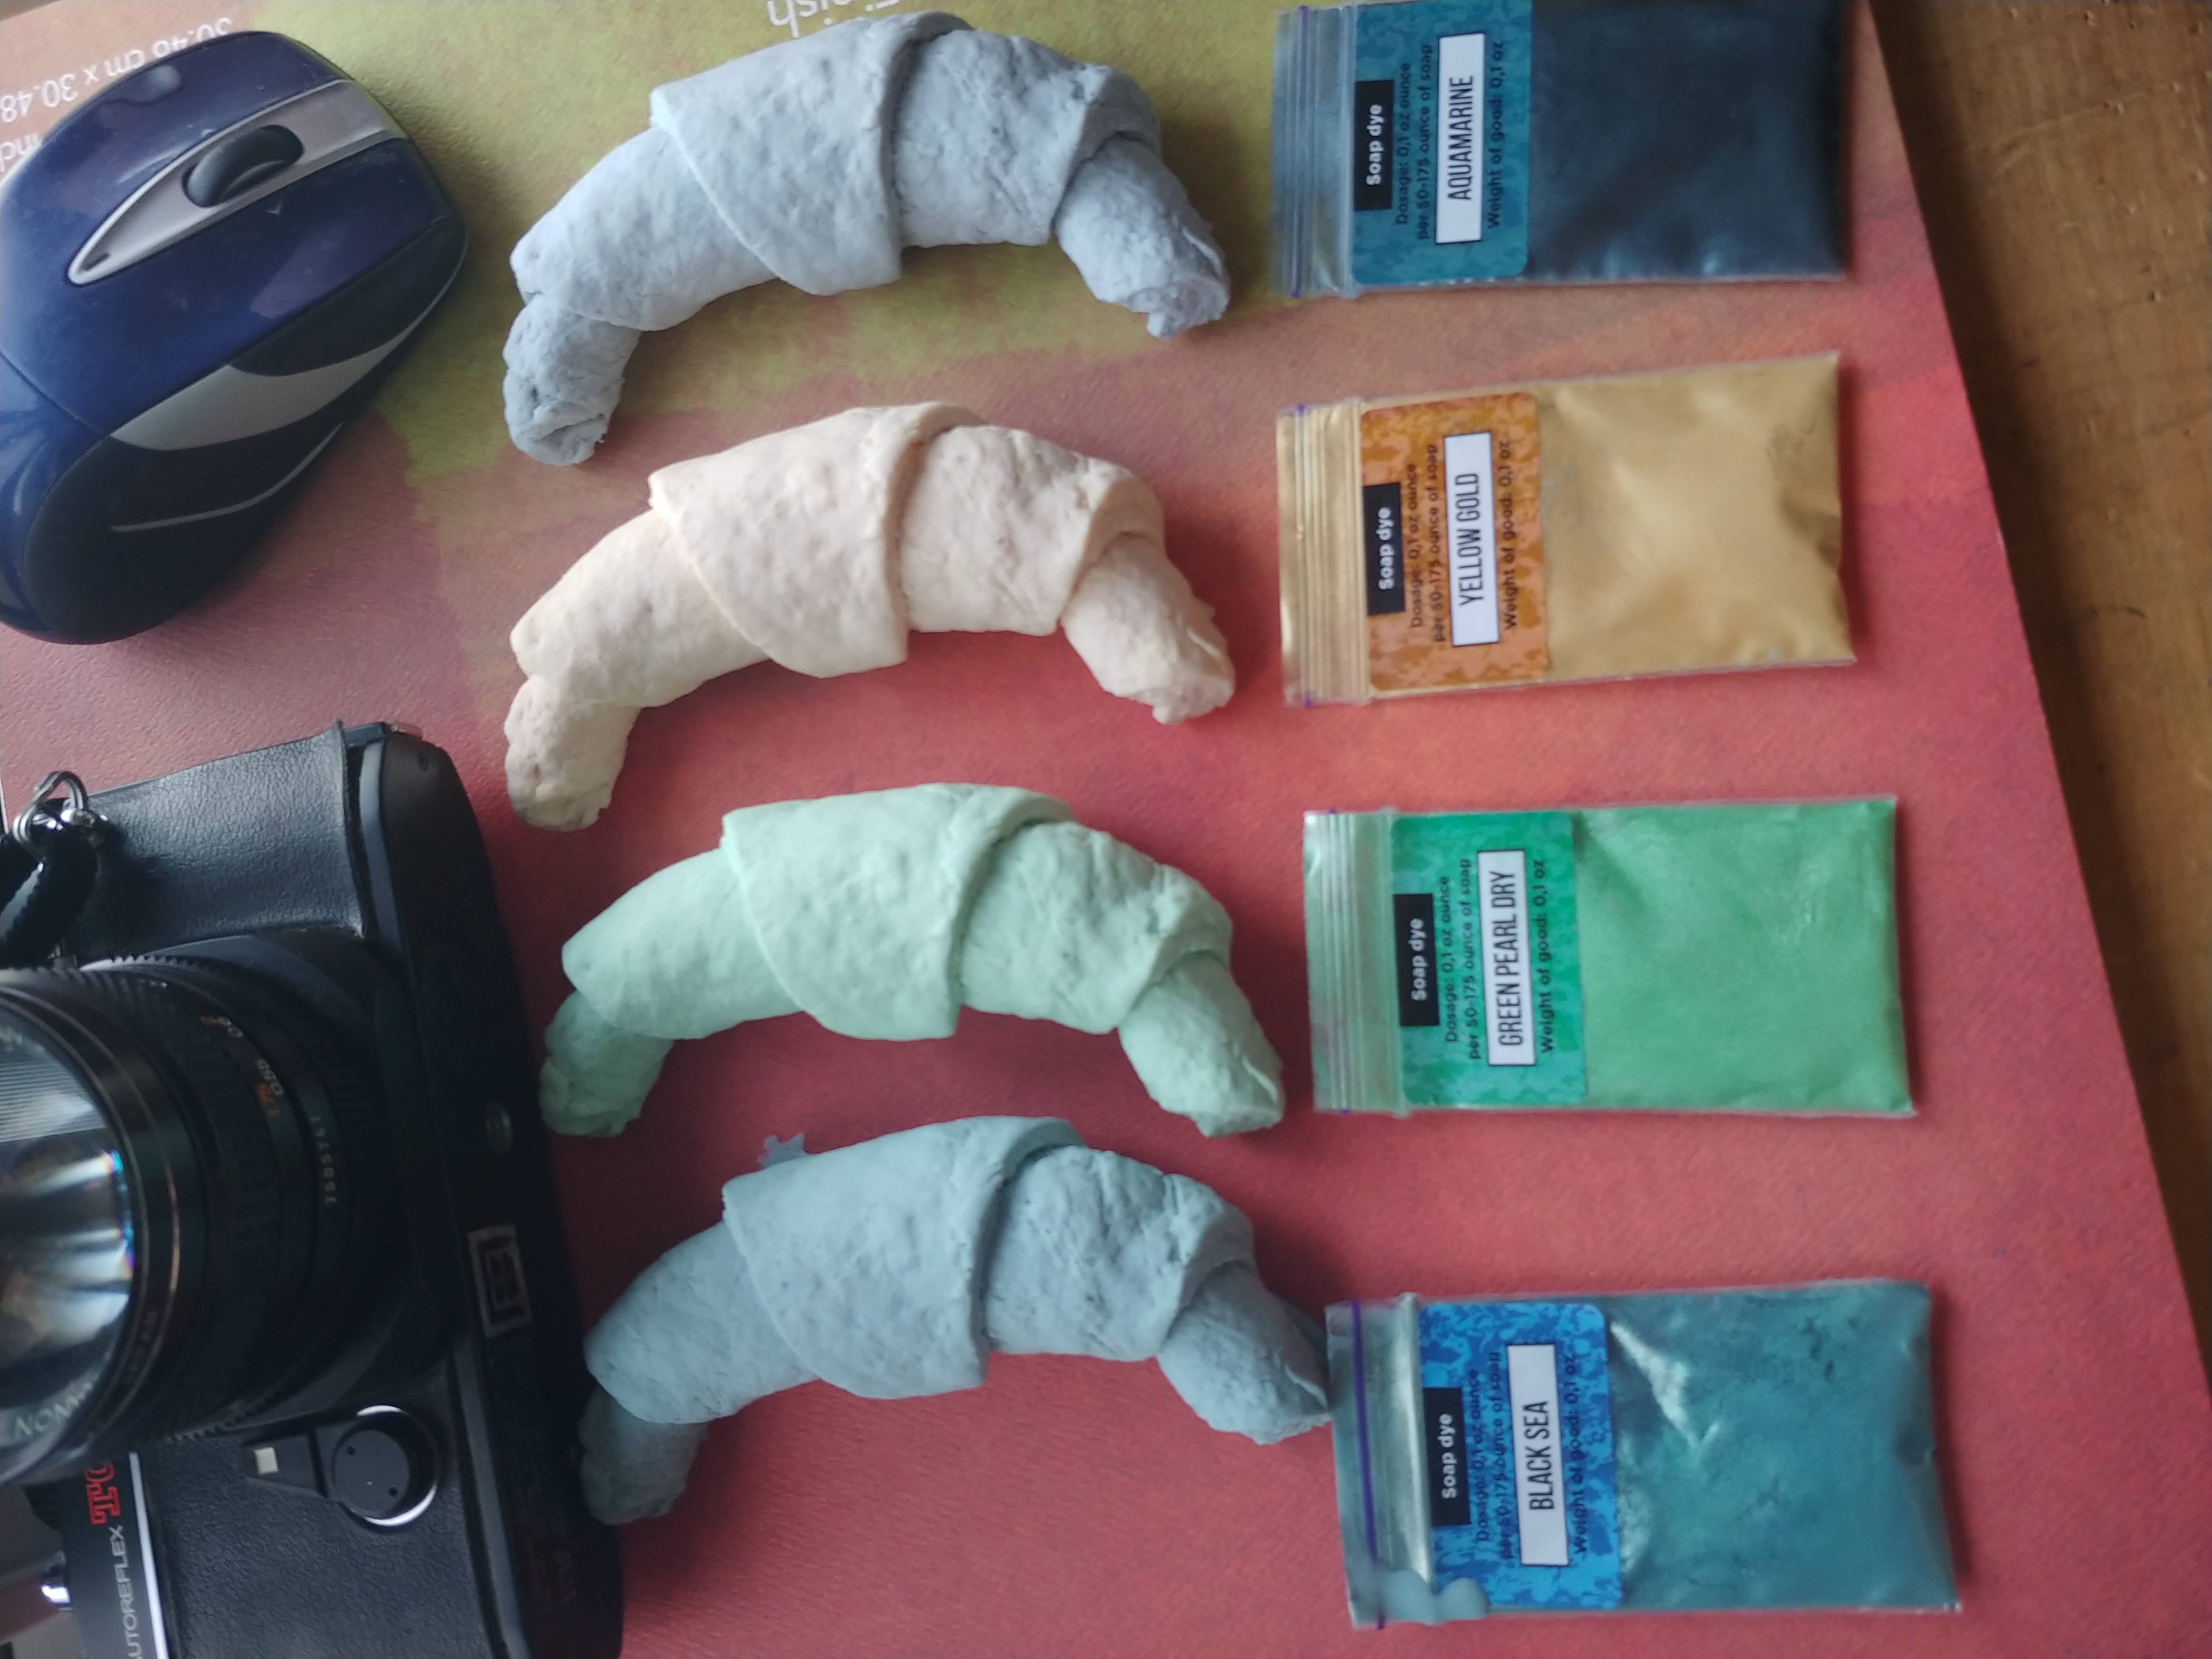
The resulting holds were great, and the mold material was no longer being ripped from the mold when extracting a cast. Furthermore I was really happy with the level of detail. See below, where I mixed in these coloring powders (which I was not happy with, too pastel):
A note on cured plastic
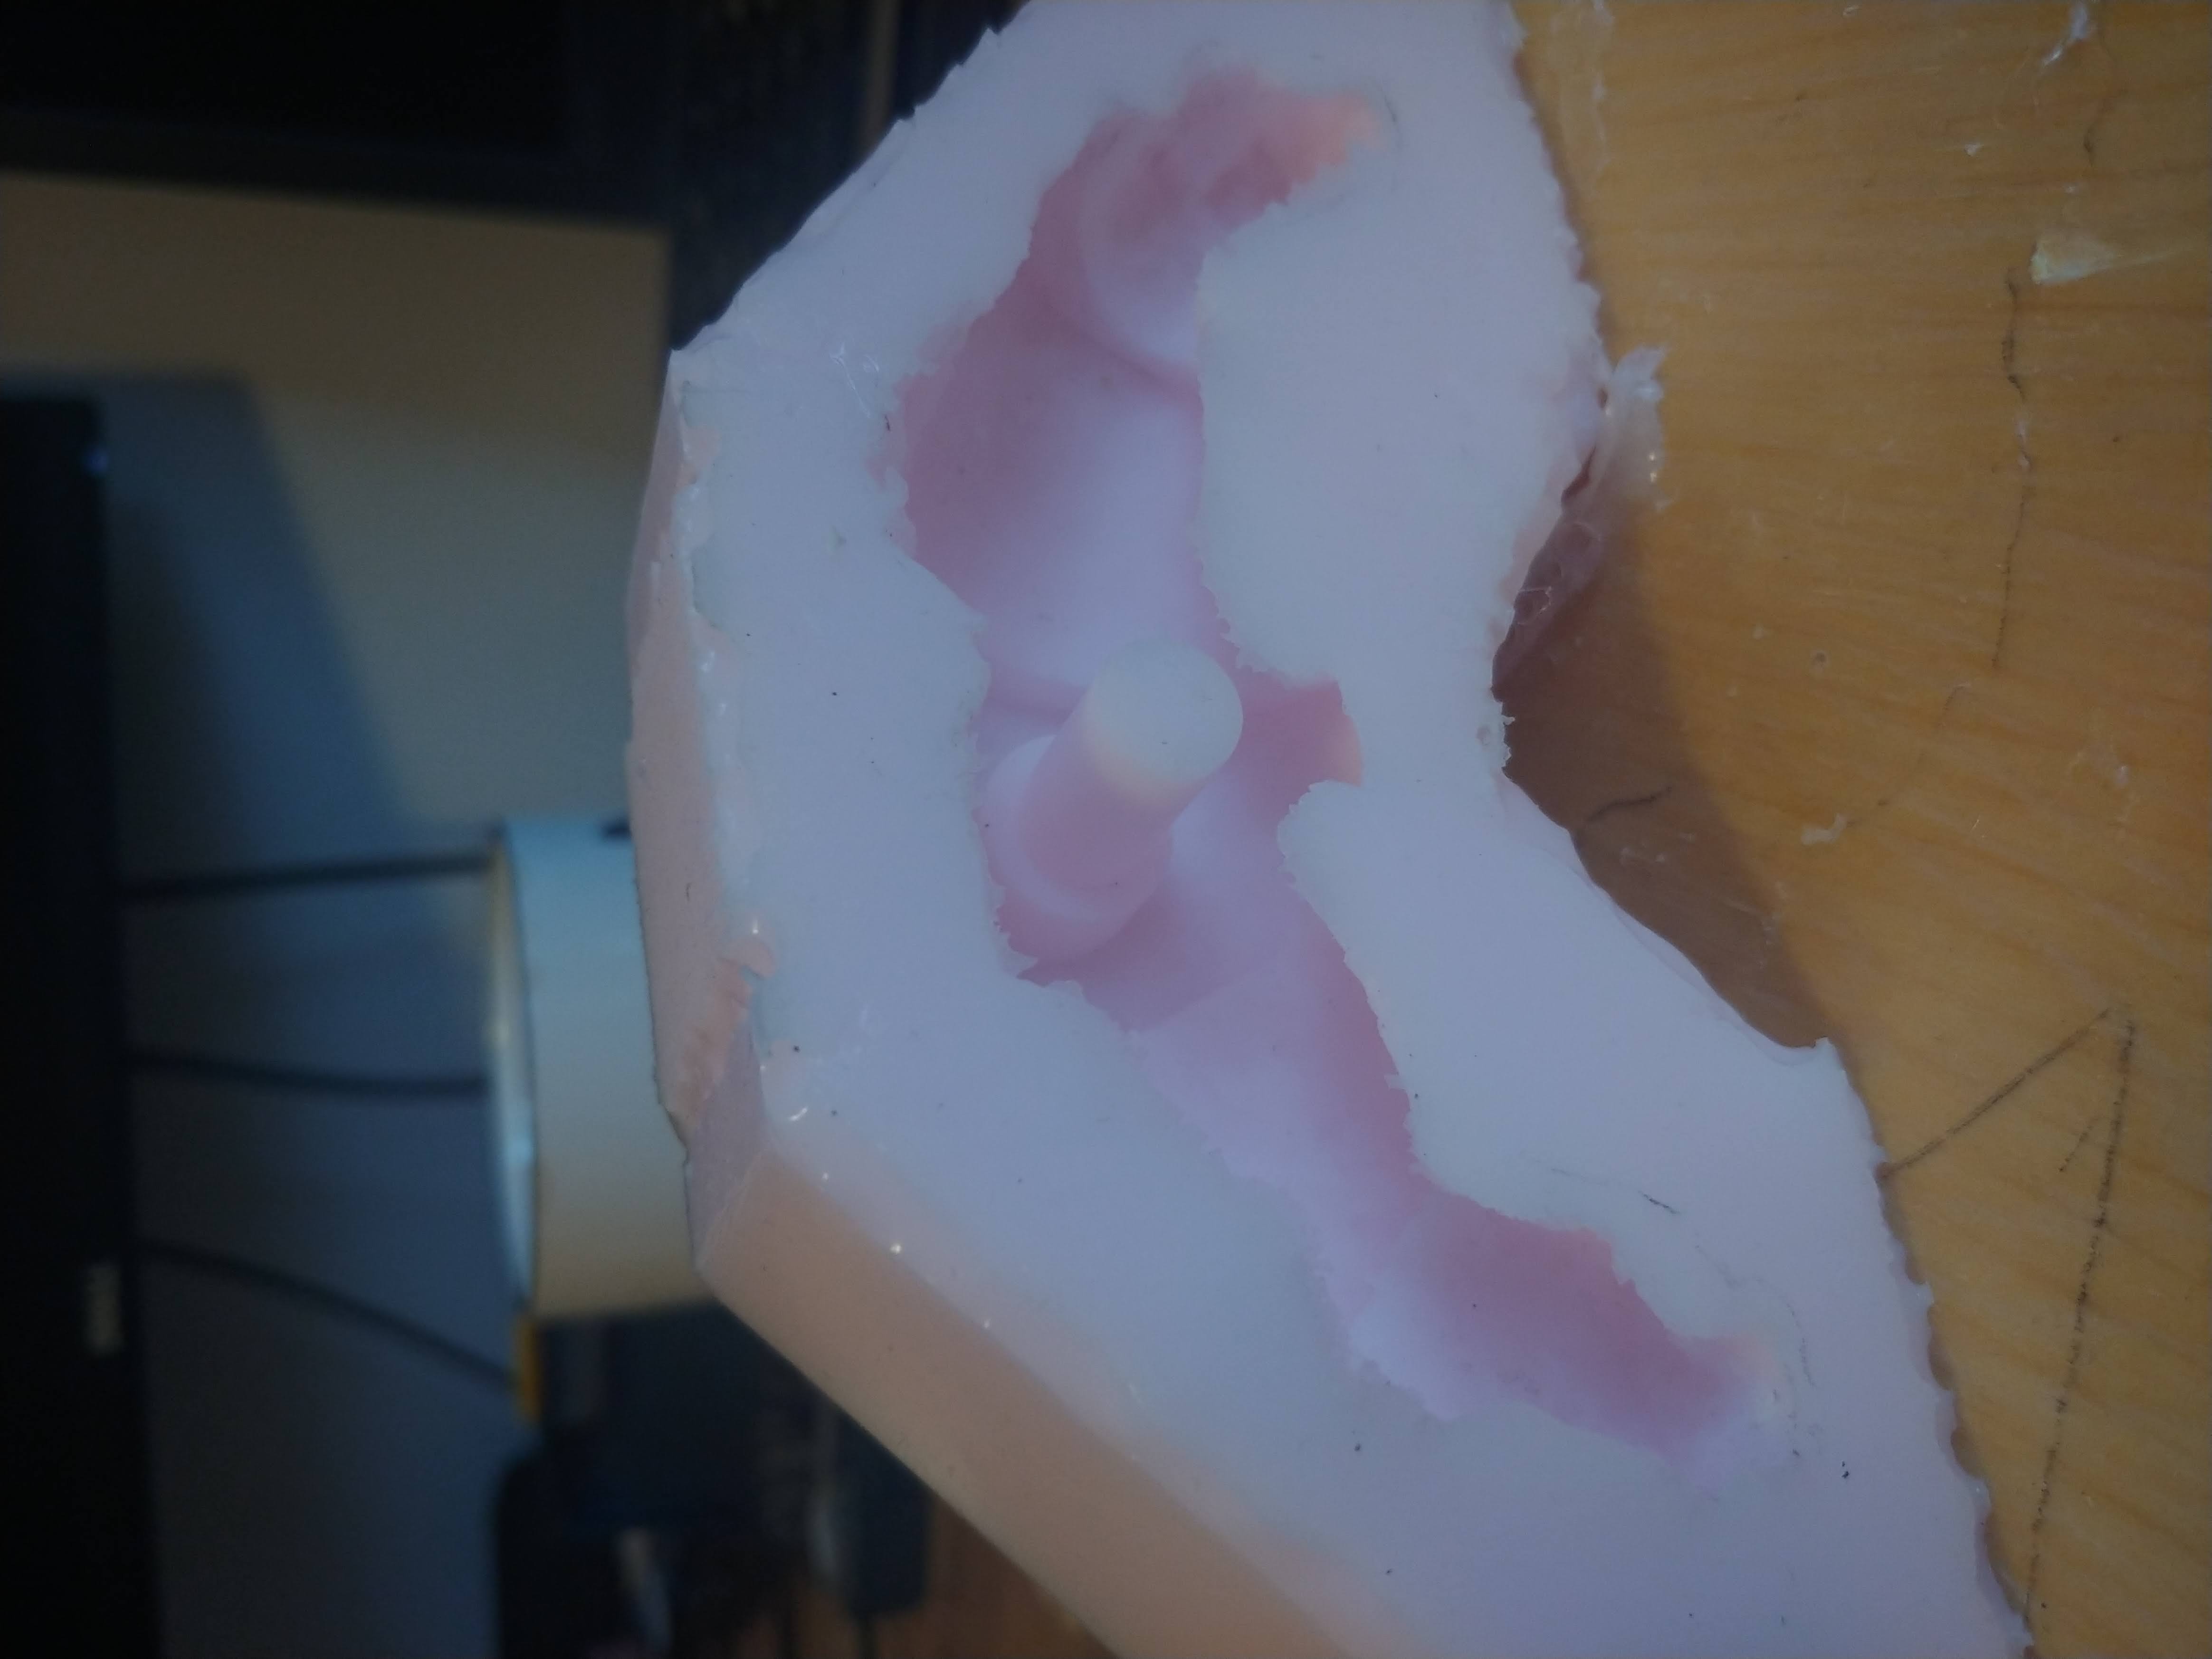
While I was now happy with the Pillsbury Crescent molds, I was not so enamored with Smooth-Cast 320. I noticed that the resulting casts were not hard enough. At sharp edges they would chip and I had absolutely no confidence in hanging my body weight from one on a climbing wall. They did however prove useful as intermediates because I could create another mold from them once a hole was drilled for the (insert dimension here) bolt. This would save me some polyurethane (and again, money) and time drilling a bolt hole in every finished piece. Here is the finished mold:
Going forward I decided to use Smooth-On’s TASK 2 product, based on Shore D hardness which I read from the specifications on their website. Please note I am not a material scientist or specialist on this topic in any way, this was mostly a blind guess. See below my exchange with one of their Material Specialists:
Hi there,
in your webpage for TASK2 product, I noticed that its intended use is for castings <1.5” (typo).
What would be an equivalent product for castings greater than this depth, and what is the consequence of using TASK2 for a casting of, say, 1” ?
Their reply:
Thank you for your interest in Smooth-On products.
The Task 2 is rated for no more than 0.50” thick castings due to it’s exotherm while curing. The exotherm is the creation of heat during the curing of a plastic resin. This is often mass sensitive, so in some products, too thick of a mass creates too much heat which will cause the resin to warp and even smoke.
If you want to pour Task 2 at a thickness that is higher than recommended, you just have to do it in layers. In the case of the Task 2, you can pour 1/2”, let it cure, then pour the other 1/2”.
An equivalent to Task 2 depends on which physical properties you are looking for. The Smooth-Cast 305 is white with a fast cure time and no casting thickness restrictions. The Task 7 is also white with a fast cure time. If color isn’t an issue, the Smooth-Cast Onyx Fast has very similar physical properties. You can see a comparison of these at the link below. https://www.smooth-on.com/compare/9899/8450/10214/9080/a/
It really depends on the end product. If you’d like to include some info on what you’re making I’d be happy to give a recommendation.
I was happy to have reached out to find out about the warping and smoking, even if I wasn’t going to follow their advice about 320. Just for fun I actually hooked up a Raspberry Pi with a thermometer to find out what temperature I was getting for the cure:
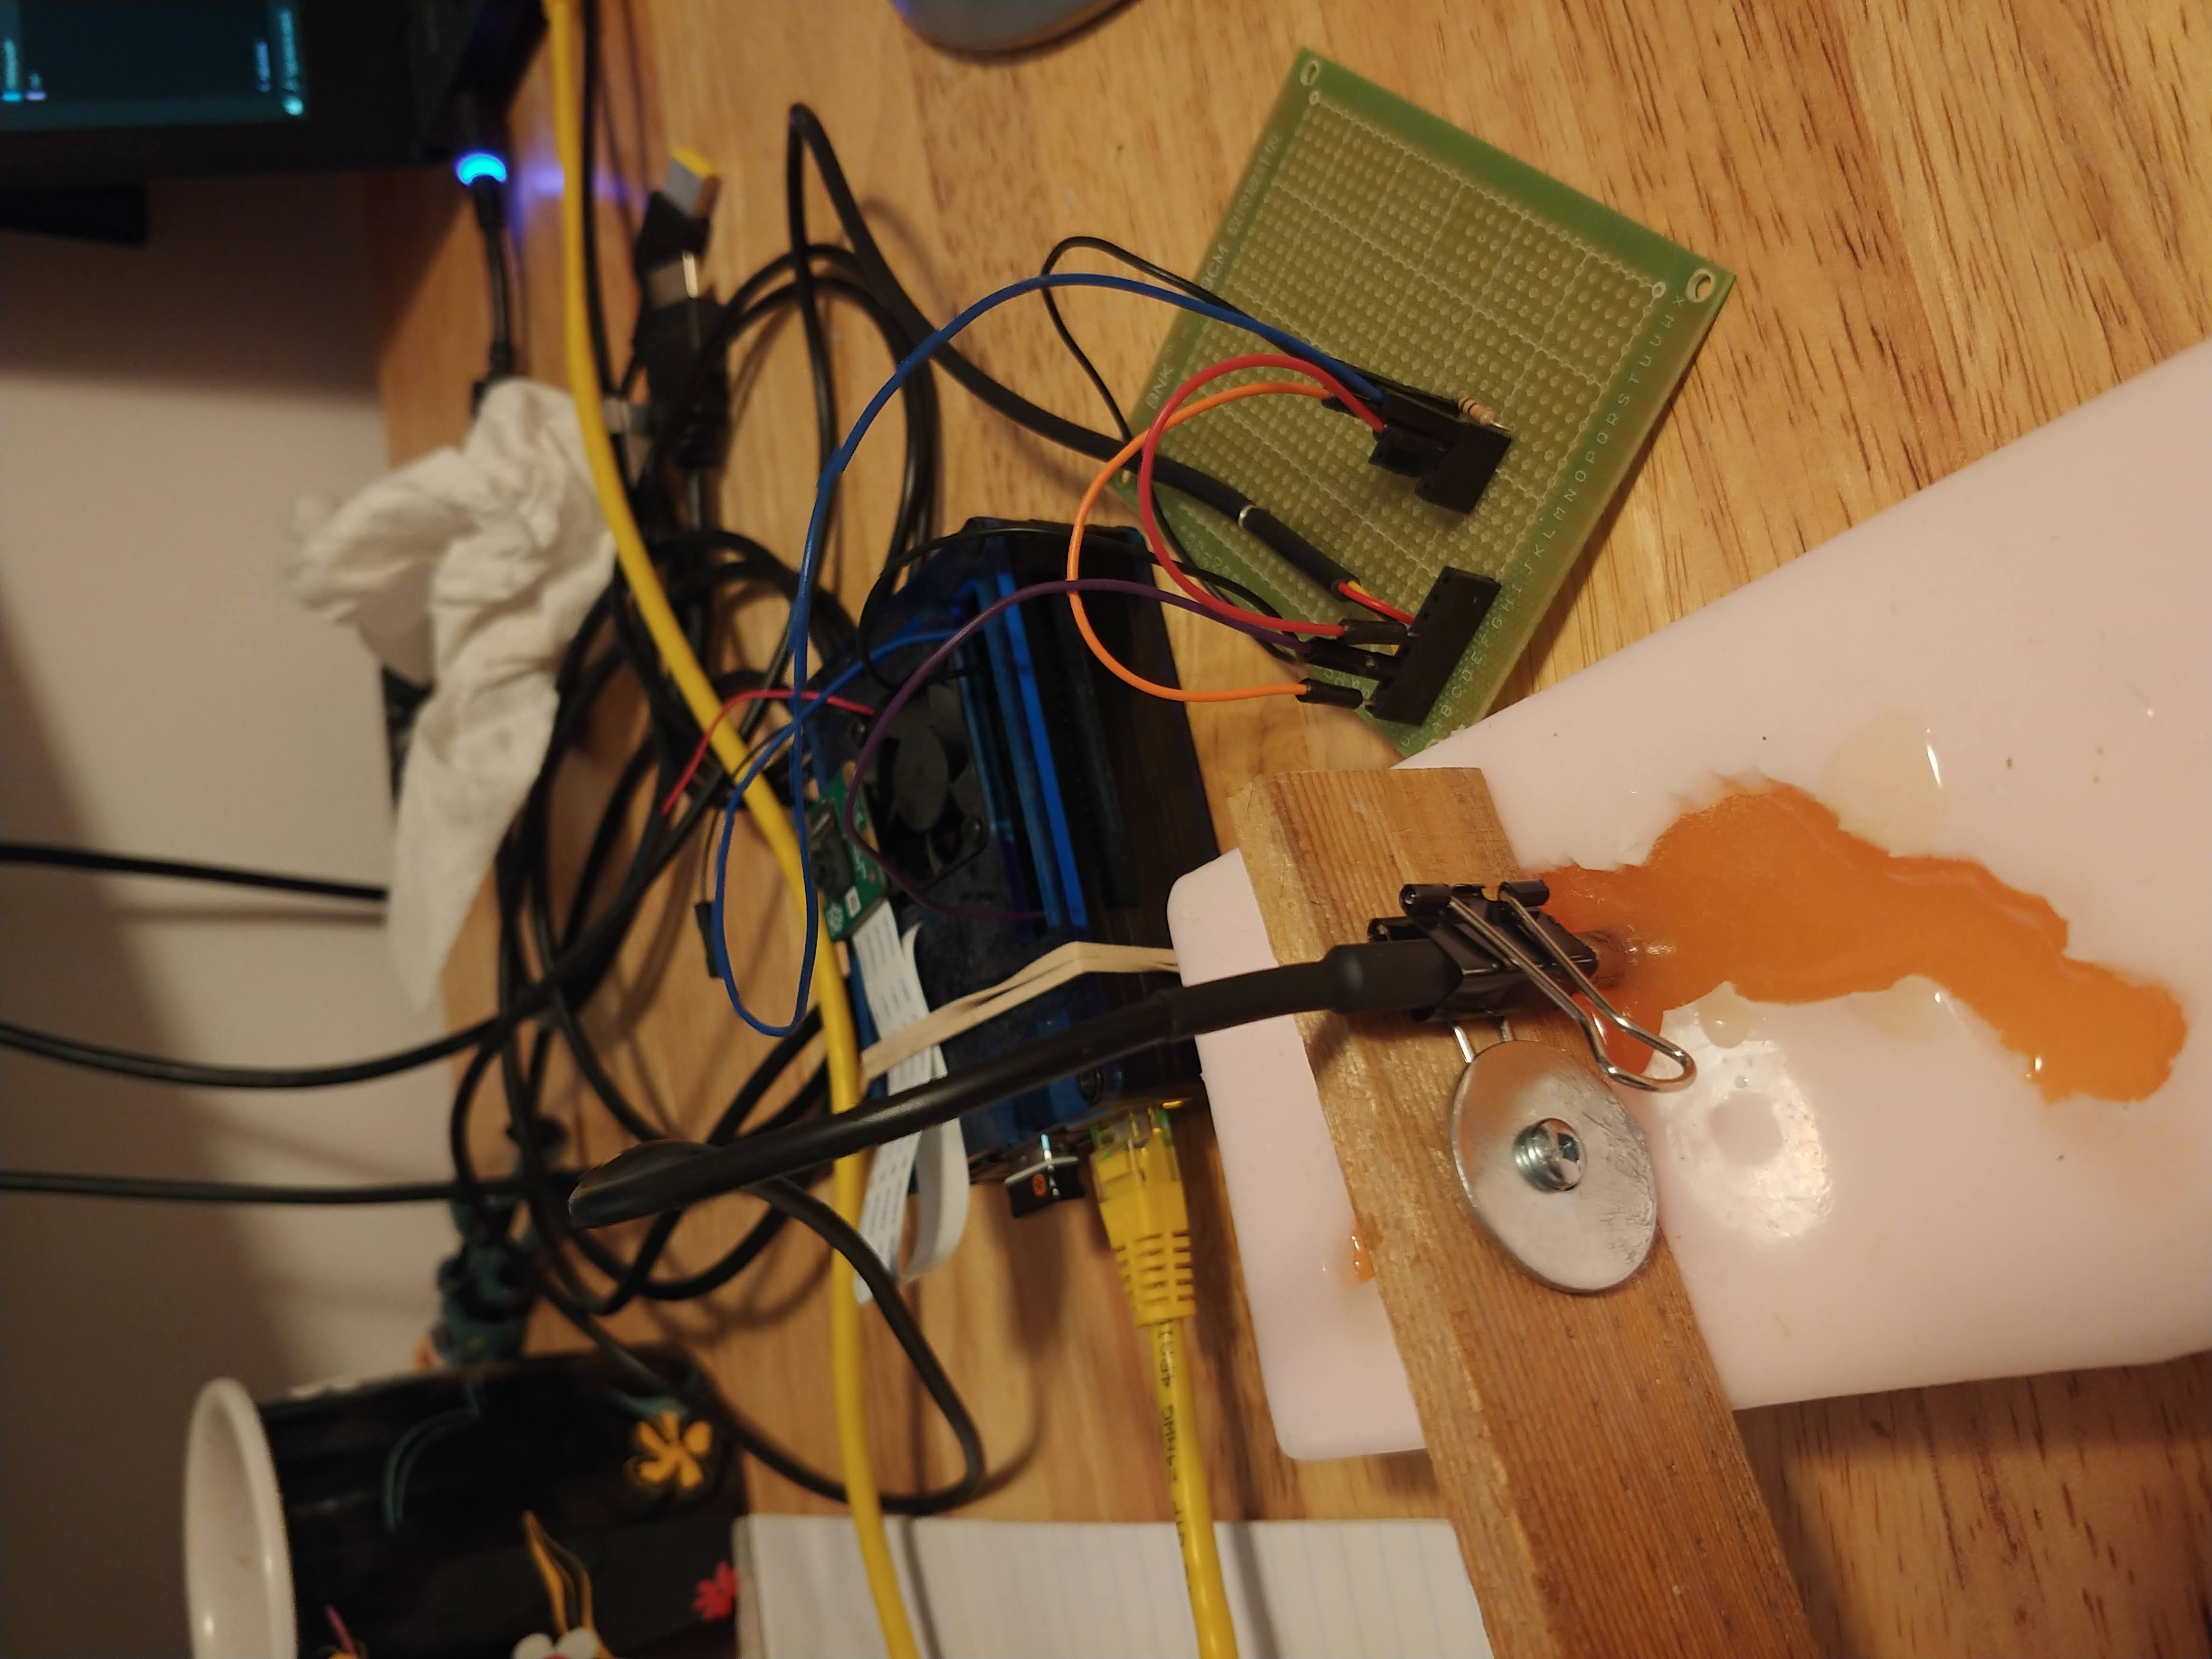

I don’t think the results of the graph are super pertinent unless you know what a curve of optimal curing looks like, but I still found it neat.
The Result
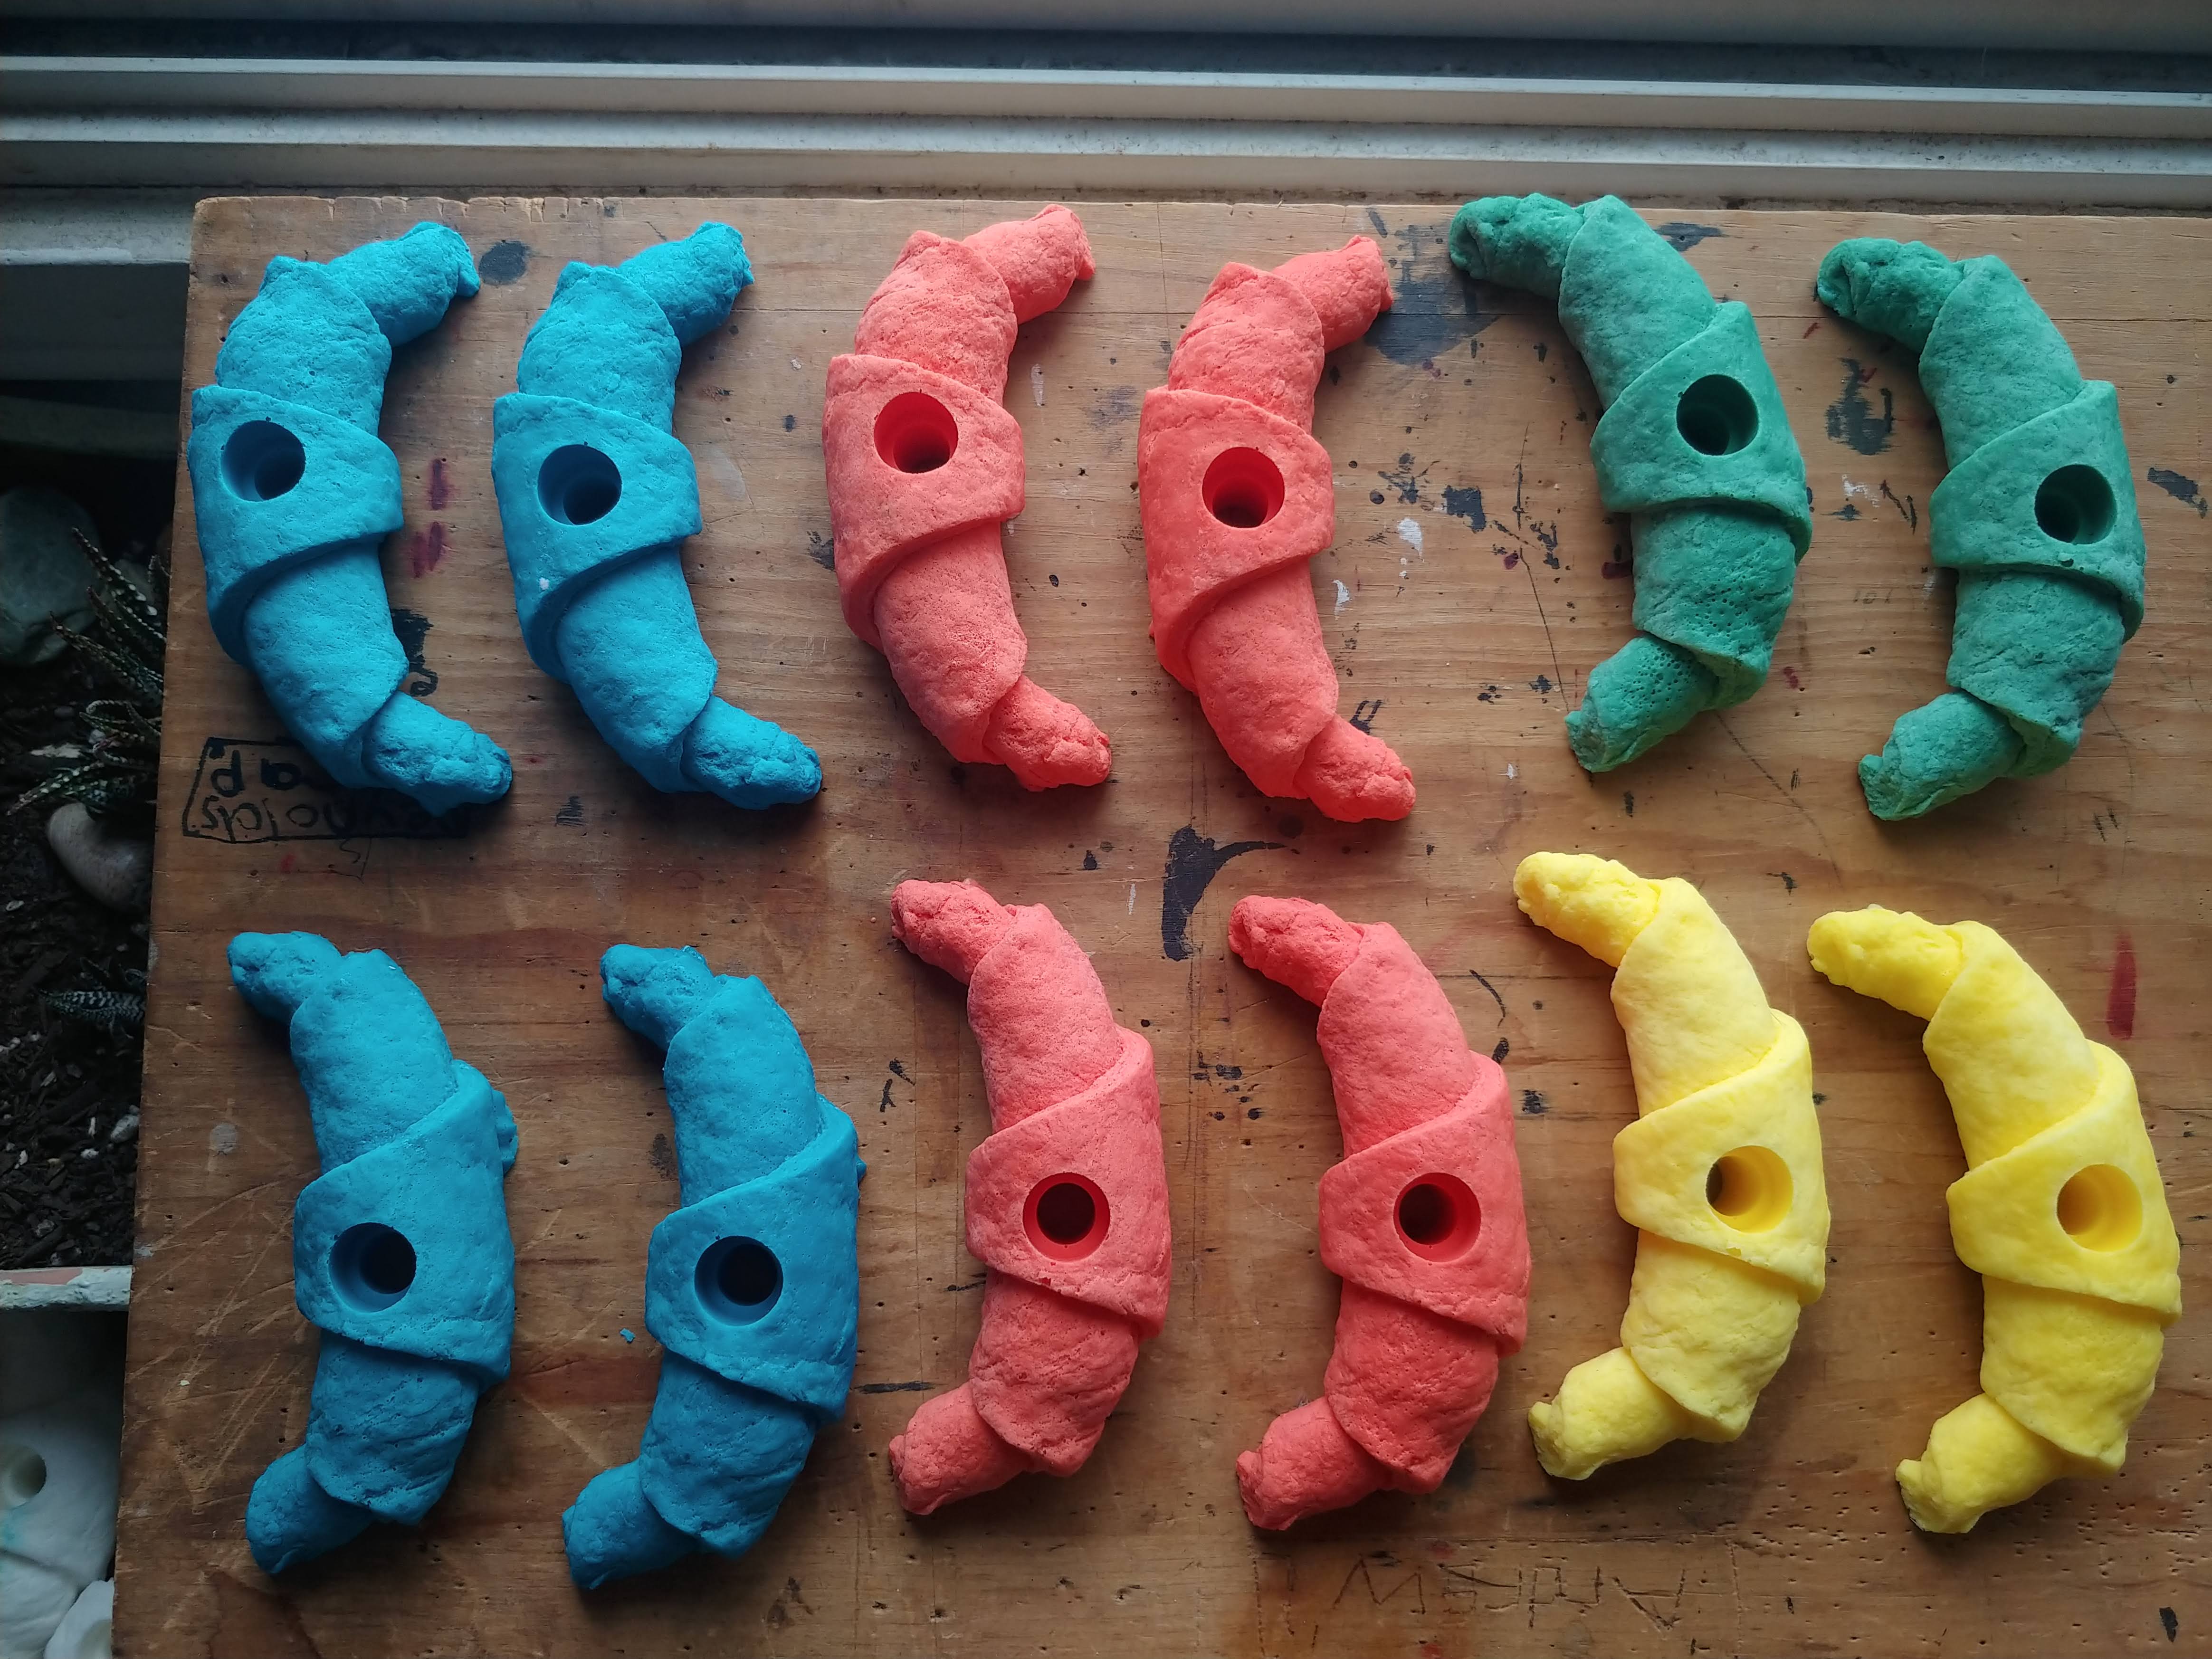
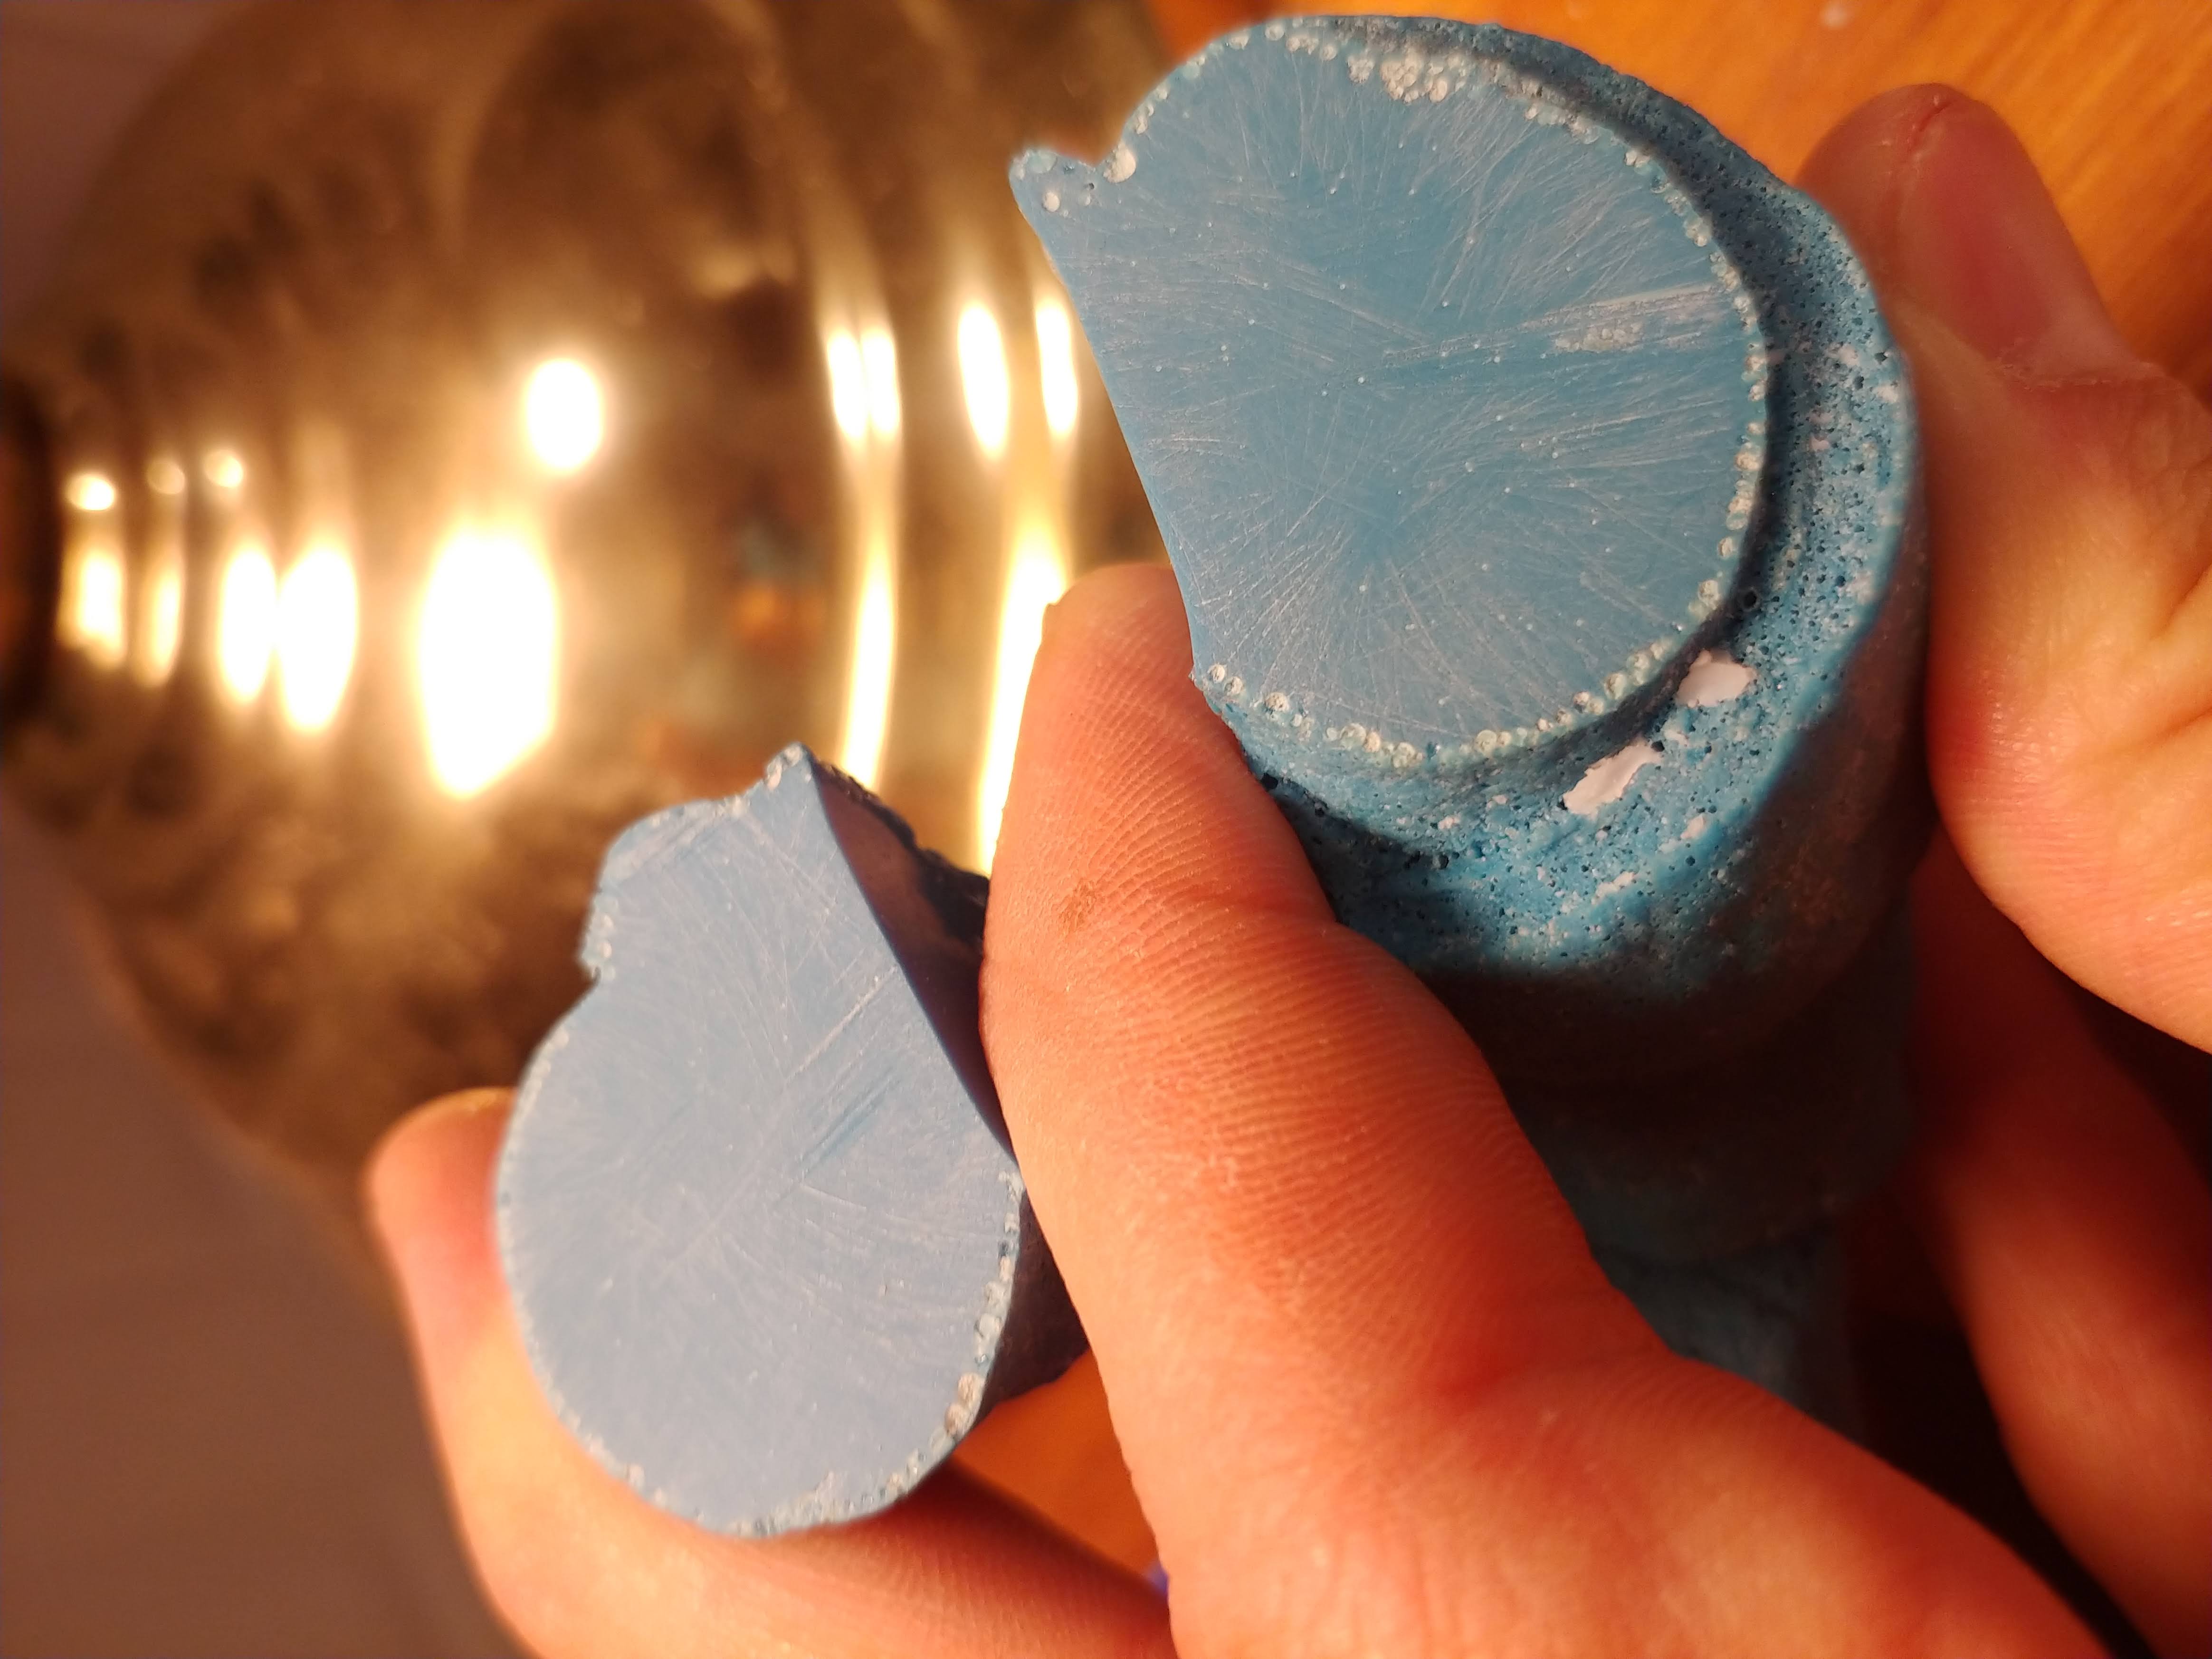
In the end, I found the resulting casts were much harder and did not chip away like the Smooth-cast 320 casts did.
| Finished croissants | Cross-section |
|---|---|
 |
 |
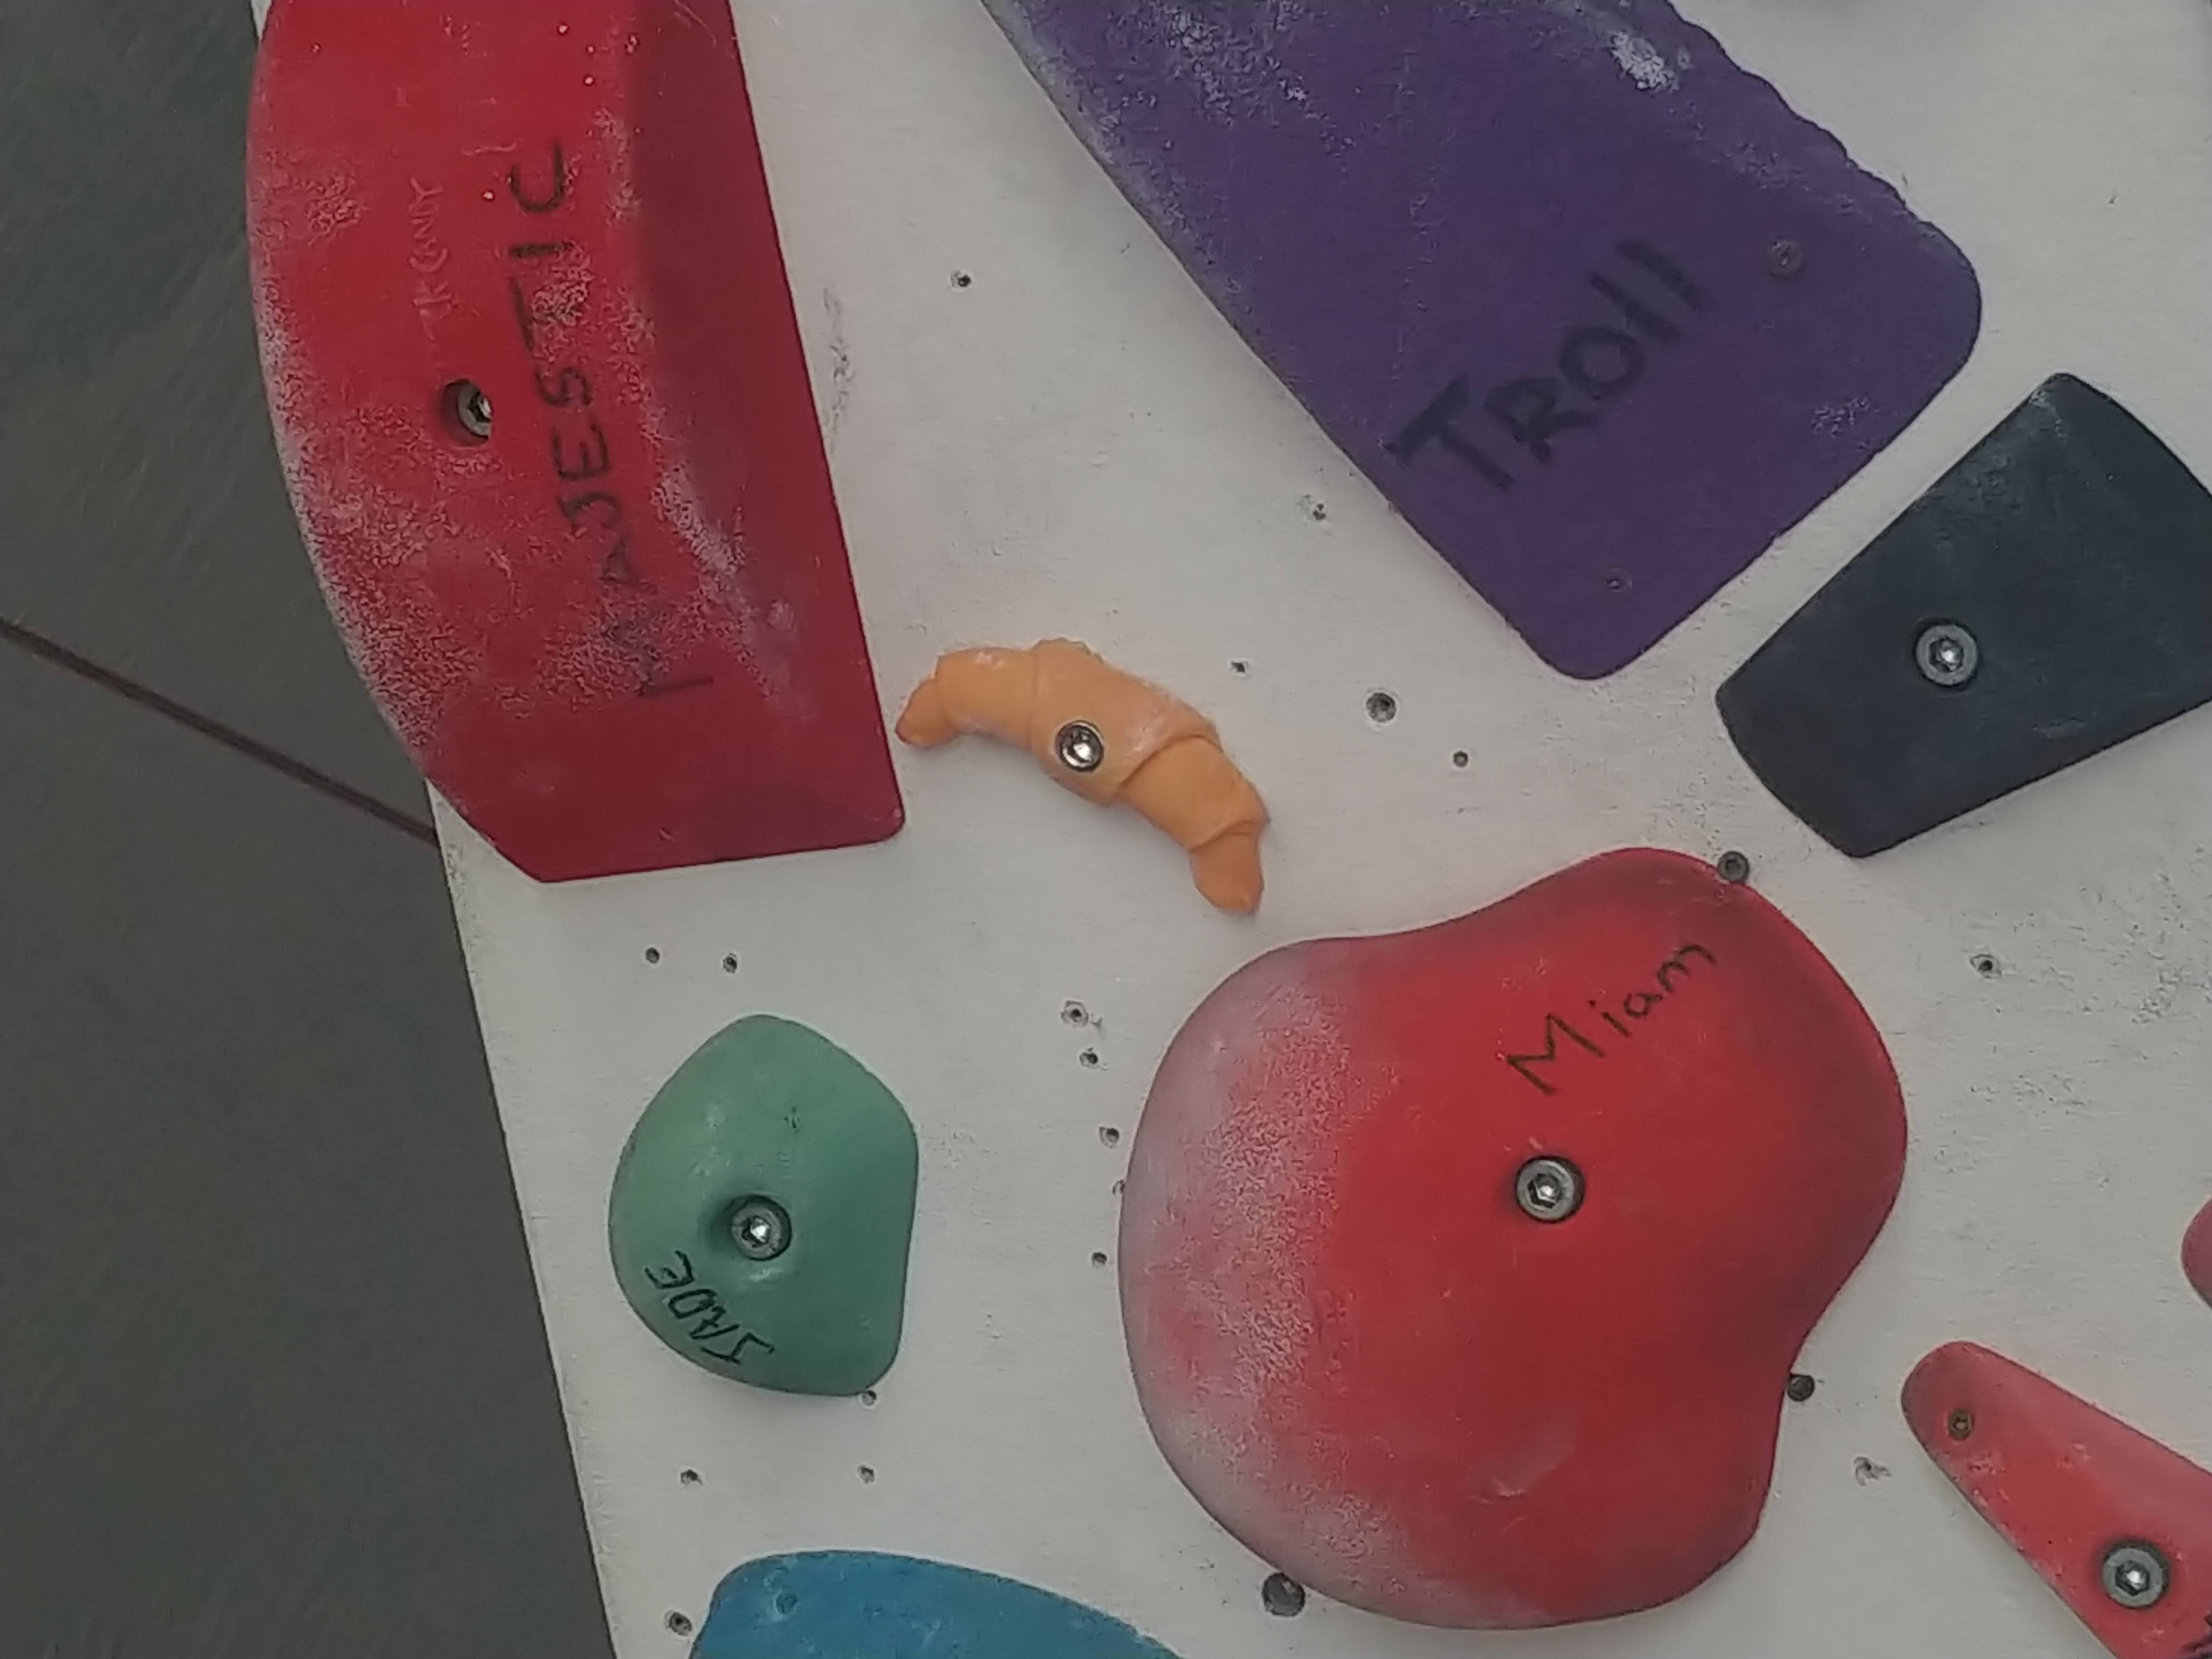
I was happy with that outcome! I’ve handed these croissants out to various climbers in my network who have variously used them as Christmas tree ornaments, paperweights, or as climbing holds on their spray walls or handboards. My gym at the time even put it on their spray wall.
Notes for future iterations
These notes really are just for me, but read on if you feel like it.
-
These holds are heinously difficult to climb on. It would be great to make a version that still bears a resemblance to a croissant but which is easier to climb on.
-
It would be fascinating to buy a pressure chamber to see what effect that has on the cure. If you look closely at these holds the surfaces have bubbling, which is why in that photo above I had cut one in half; I wanted to see if that bubbling was present all the way through.
-
Maybe I really was doing something wrong with the Smooth-Cast 320 ? I had purchased some of their Ure-fil product, but can’t recall how much I has used, or if I had used any in the casted croissants I was dissatisfied with.